|
|
Post by RAM Z on Nov 3, 2009 11:16:28 GMT -5
Nice find. That frame is pretty clean, should look awesome when painted.
|
|
|
|
Post by oldsproject on Nov 3, 2009 12:17:07 GMT -5
Nice find. That frame is pretty clean, should look awesome when painted. It's all surface rust, comes off real easy with a wire wheel. No pitting at all so this car has obviously not seen any salt which I feel very fortunate. Thinking it might be better to wire wheel this frame versus a blast in order to avoid the blast profile? Any thoughts? Not sure how I'd get the insides of the boxed pieces though  |
|
Deleted
Deleted Member
Posts: 0
|
Post by Deleted on Nov 3, 2009 12:20:49 GMT -5
I don't remember finding one there? I'll have to look again.
|
|
Deleted
Deleted Member
Posts: 0
|
Post by Deleted on Nov 3, 2009 12:27:32 GMT -5
You could wire wheel the majority of it and then blast the hard to get areas? If you do decide to
blast the whole thing though....it's worth it. I used some pretty harsh stuff from harbor freight and
the frame was white metal when I was done. Also, you just have to make sure to blow blow blow
the sand out of all cracks and crevices before painting with primer and the Chassis Black paint.
|
|
|
|
Post by RAM Z on Nov 3, 2009 13:05:02 GMT -5
Nice find. That frame is pretty clean, should look awesome when painted. It's all surface rust, comes off real easy with a wire wheel. No pitting at all so this car has obviously not seen any salt which I feel very fortunate. Thinking it might be better to wire wheel this frame versus a blast in order to avoid the blast profile? Any thoughts? Not sure how I'd get the insides of the boxed pieces though Blast then sand with 80 grit on a DA. That will make it smooth again. |
|
|
|
Post by BR[] on Nov 3, 2009 19:34:23 GMT -5
Blast it and then a couple coats of high build primer............it'll look like glass. The blast profile is what makes the paint stick so well.
|
|
Deleted
Deleted Member
Posts: 0
|
Post by Deleted on Nov 3, 2009 20:06:32 GMT -5
Nice thoughts here. I'd like to add some info related to coatings.
I'm an ASTM D4537 certified coatings level III inspector. My area is somewhat limited to 2 part epoxies and 100% solid polymers.
With that said, the idea behind Blasting, Sanding, Wire Wheeling, is to remove all the dirt, scale, rust etc. The second idea behind surface prep it to provide an appropriate profile (anchor pattern) for the coating to adhere to. So for example, if you blast with a harsh media such as black beauty, the profile could be as high as 6 mils (.006"). Knowing this, depending on the thickness of the coating system to be used, you need to cover the peaks of the profile. Think of it as a mountain range, filling it with paint and leaving the peaks sticking out of the paint. What will happen? Rust. So therefore you need a good anchor pattern, and you need to cover it completely usually by 40% so in the example of 6mils (.006) your target dry film thickness (DFT) should be 10 to 12mils (.010 - .012") and depending on how much solvents are in your coating system, your wet film thickness (WFT) may need to be 14 to 16mils (.014 - .016) That means you may need two or three coats to cover your profile sufficiently because (again) depending on your coating system, too much wet paint will run. So 6 to 10 mils is usually the max per coat and again that depends on how thin (runny) your paint is.
Hope this makes sense.
This information is for a paint that would be used on a frame, not a body panel. Body paint is very very very thin and the body anchor pattern is usually very low. Food for thought.
|
|
|
|
Post by BR[] on Nov 3, 2009 20:55:44 GMT -5
oldsproject, thanx for the pics..................already hi-jacked
|
|
|
|
Post by bubbasz1 on Nov 3, 2009 21:39:12 GMT -5
Moxct
Thanks for the two cent's it always helps to know just a bit more than you used to. I work in metal stamping and we have done on the outside a lot of electroplating, E coat, and some powder coat. It's nice to have a little more knowledge of the primer sealant even if we probably don't have the skills as you do as far as checking them.
|
|
|
|
Post by oldsproject on Nov 3, 2009 22:35:12 GMT -5
oldsproject, thanx for the pics..................already hi-jacked BR[]/RAMZ..... here's a few more that you may or may not have. Found a second location with the VIN stamp, some inspection markings, etc. 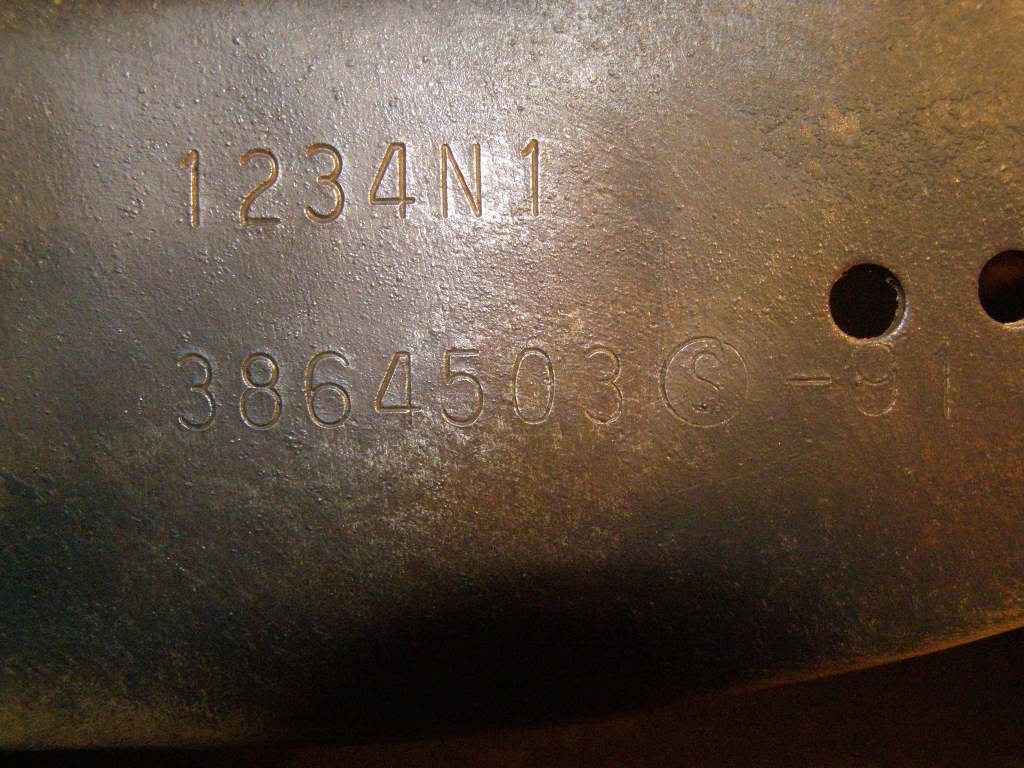 Typical frame ID 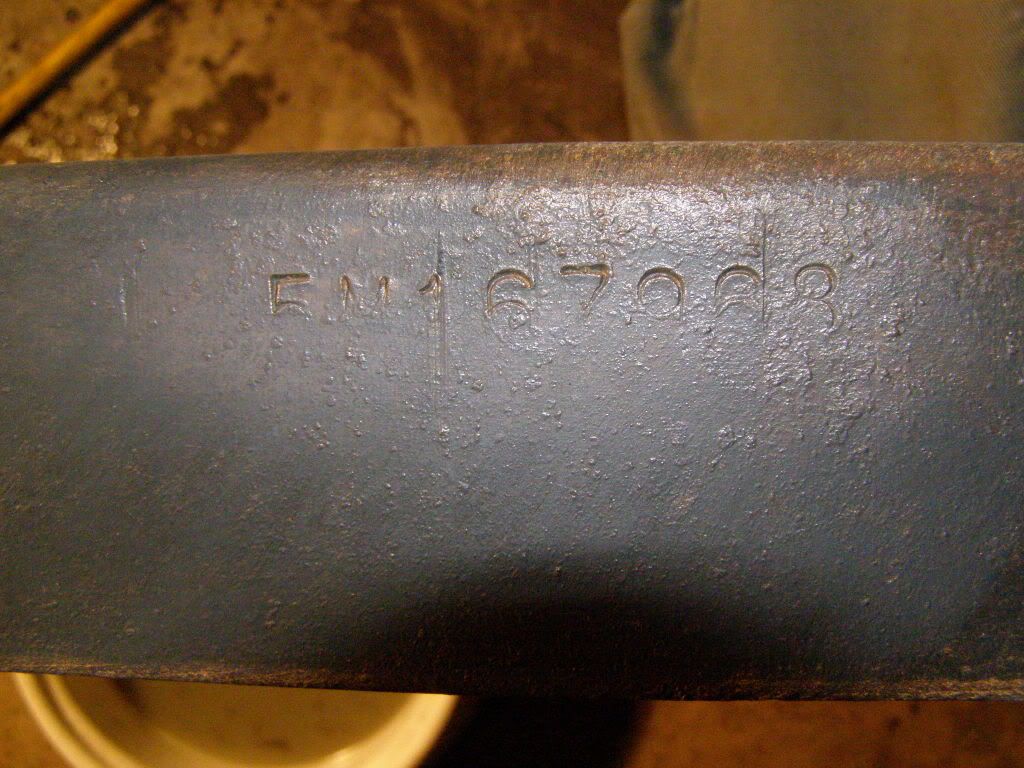 2nd VIN Location 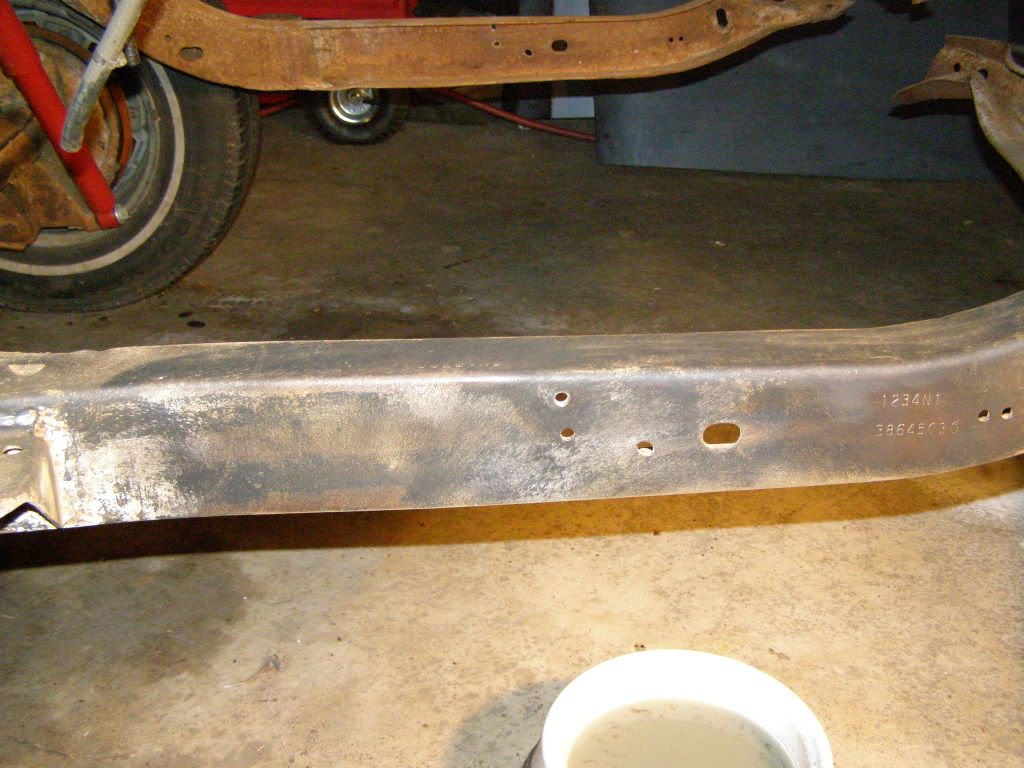 Shows the 2nd VIN location, several inches left of the Frame ID on the Top rail 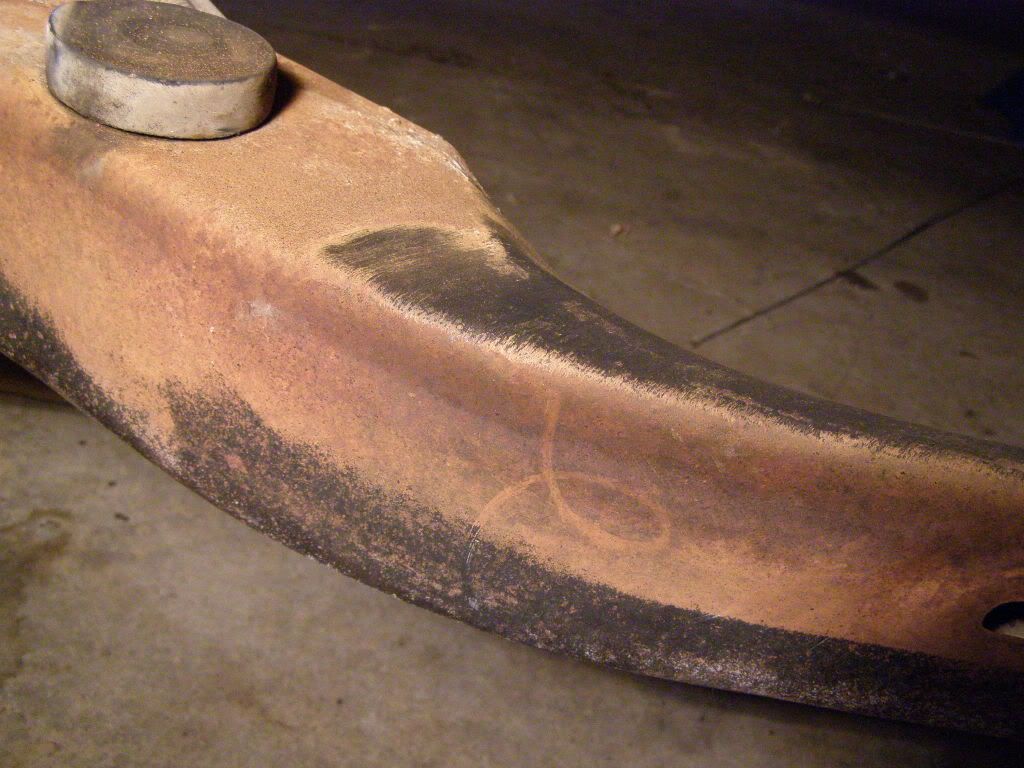 Yellow inspection mark 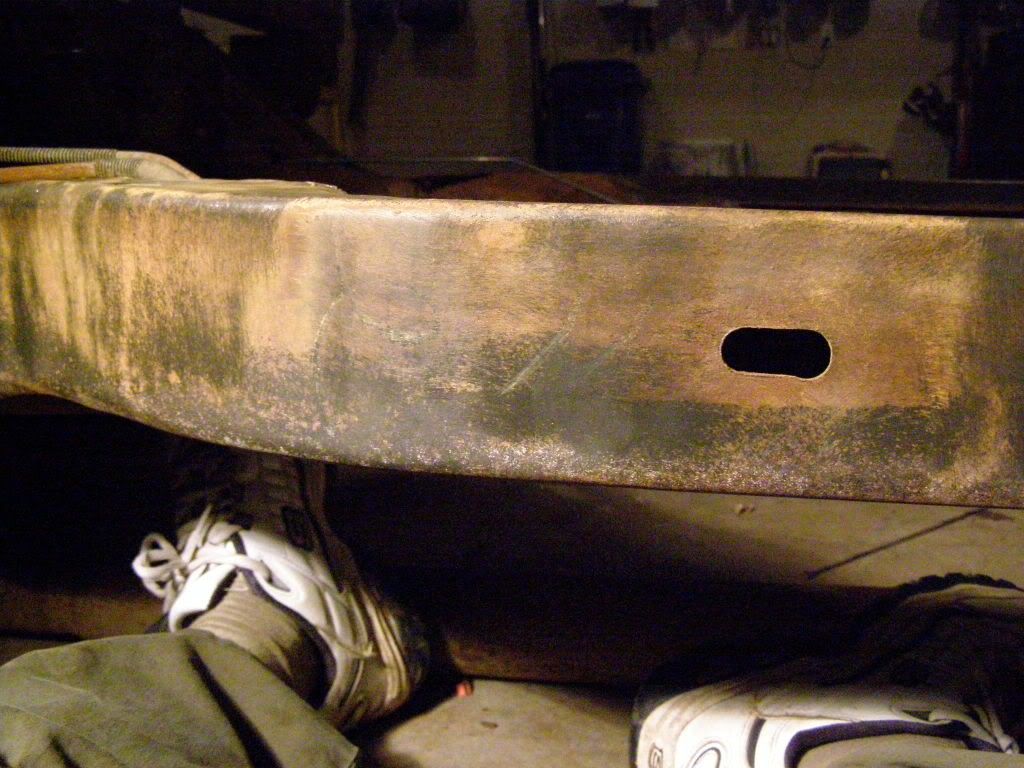 Same marks after I cleaned it a bit |
|
Deleted
Deleted Member
Posts: 0
|
Post by Deleted on Nov 4, 2009 3:28:10 GMT -5
Moxct Thanks for the two cent's it always helps to know just a bit more than you used to. I work in metal stamping and we have done on the outside a lot of electroplating, E coat, and some powder coat. It's nice to have a little more knowledge of the primer sealant even if we probably don't have the skills as you do as far as checking them. You are welcome, I was just trying to stimulate some thought. If you do decide to blast, you may want to duct tape over those precious numbers. |
|
|
|
Post by RAM Z on Nov 4, 2009 8:11:37 GMT -5
Thanks for pics Brian, that frame has been a gold mine of info so far. Ill have to go check mine for that second stamp now.
Keep up the good work and keep the pics coming.
|
|
|
|
Post by oldsproject on Nov 8, 2009 20:56:40 GMT -5
A few more pix, dissassemly continues and the tractor has become a real asset lifting everything off  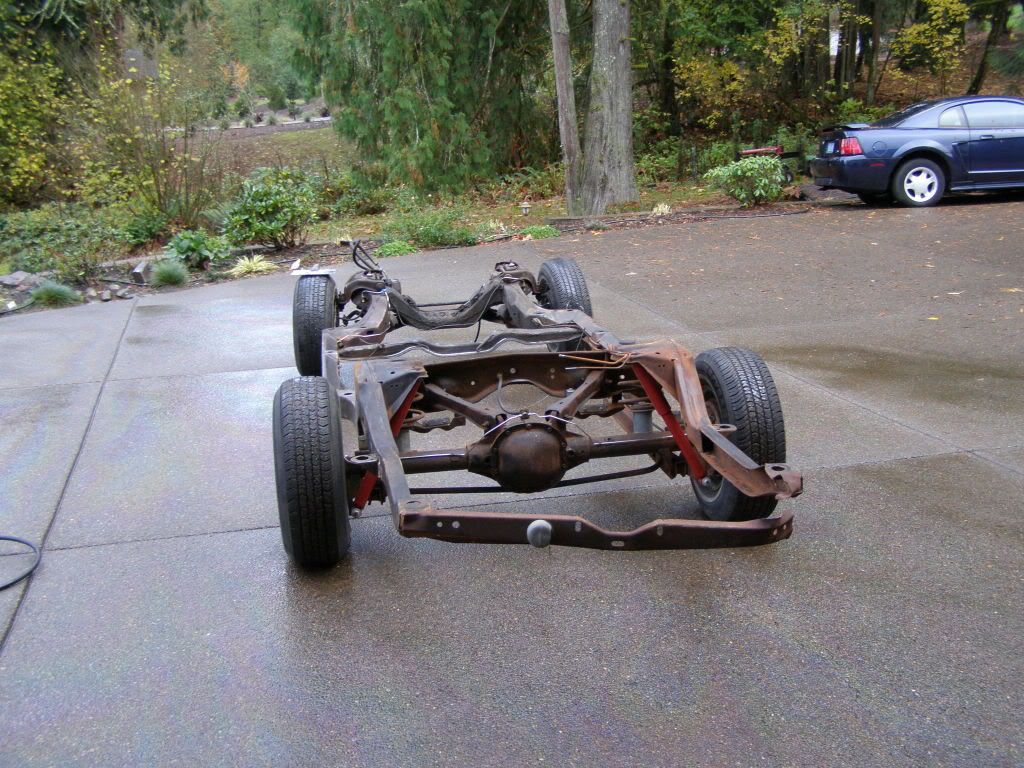 Power washed, motor and tranny off...... feeling good!  Lot's of oil and sludge build up over the years that won't come off with the power wash so had to chisel it  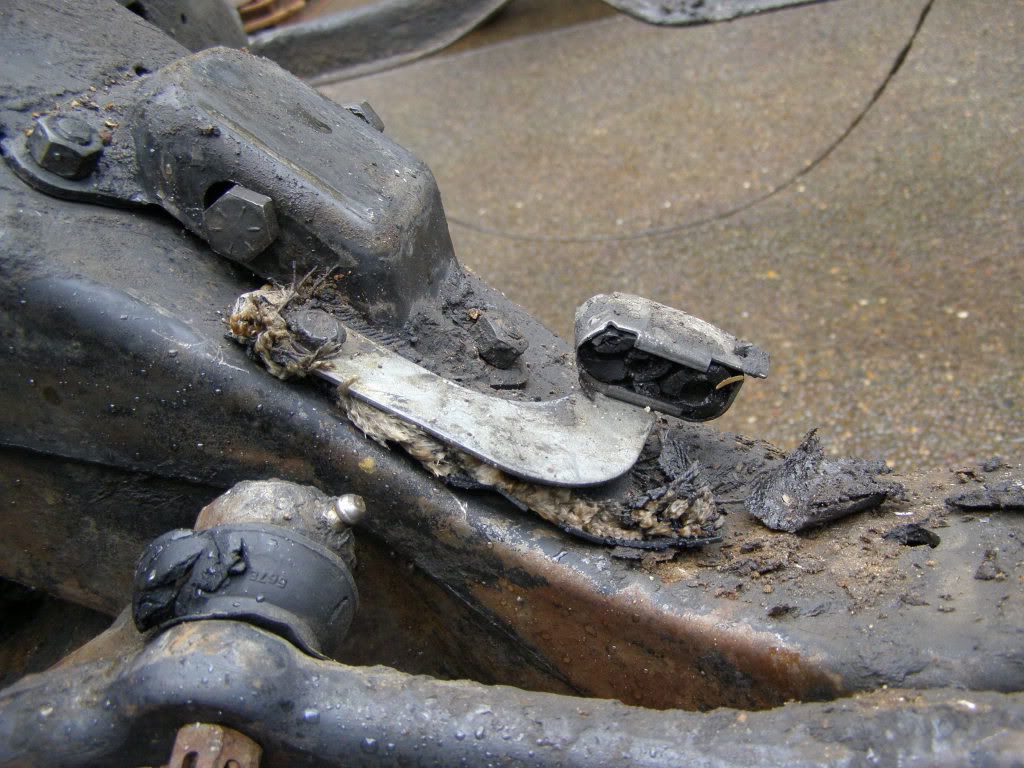 This wasn't being used but assuming it's for the tranny lines 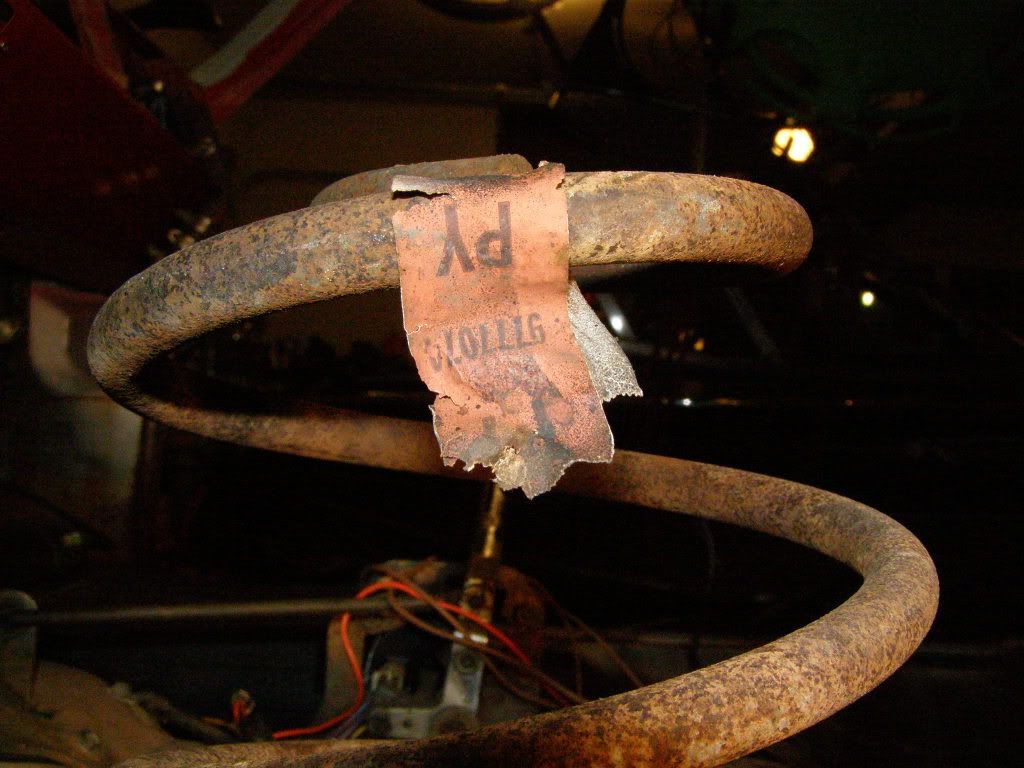 Here's better picture of the rear coil spring tag  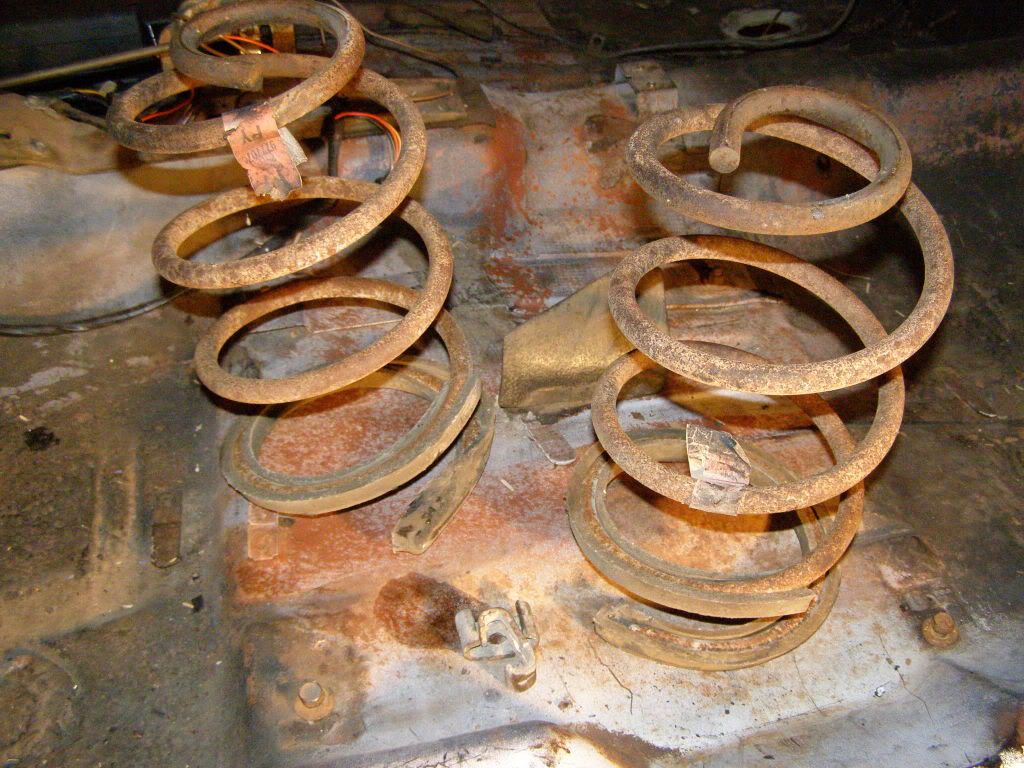 Both springs had tags ;D ;D ;D  Measurement of the ring placements |
|
|
|
Post by bubbasz1 on Nov 8, 2009 21:11:31 GMT -5
KUBOTO< Looks good, that little rework in the back won't keep you busy for long, and yes that is supposed to hold the trans lines in proper position. It was just too much of a bother for someone to reuse it when they replaced the lines over the years.
|
|
Deleted
Deleted Member
Posts: 0
|
Post by Deleted on Nov 10, 2009 11:11:19 GMT -5
Really nice pictures. I should have taken more pics of mine. I just took a couple far away ones of the striped frame. It'll be Nice documentation on yours.
|
|
|
|
Post by oldsproject on Nov 20, 2009 20:05:38 GMT -5
We'll have new pix up this weekend but basically, got er tore down and ordered all the parts today Ouch  . Ordered the front springs from Eaton and basically everything else fron Greg over at supercars. Saved quite a bit but think I made him a rich and happy man today ;D. Also, ordered the chassis paint kit from Eastwood so ready to rock and roll |
|
|
|
Post by oldsproject on Nov 29, 2009 11:58:40 GMT -5
Here's an update, lot's ahead of me yet but feel like I'm getting a handle on the frame  . Used Eastwoods 3-part Chassis paint system, blasted to white metal as advised by RAM Z. 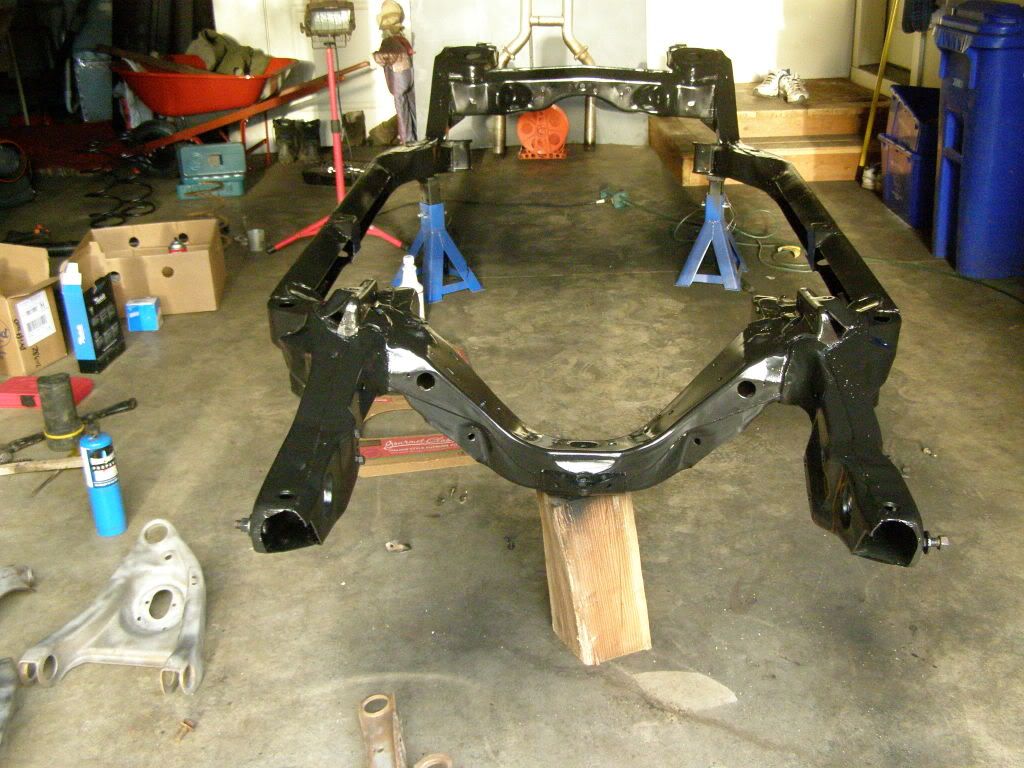 |
|
|
|
Post by 442scotty on Nov 29, 2009 12:14:35 GMT -5
Looking good...lots of great info...
|
|
|
|
Post by RAM Z on Nov 29, 2009 15:21:04 GMT -5
Youve been busy! keep it up, looks killer.
|
|
Deleted
Deleted Member
Posts: 0
|
Post by Deleted on Nov 29, 2009 17:15:00 GMT -5
looks Sweeeet Brian, I just read your PM, sorry I didn't get back to you in time but I just saw the PM in my box today. looks like you didn't need me anyway. Did you end up sandblasting? Or did you wire it?
|
|


![BR[] Avatar](http://aliquippaoutlaws.homestead.com/Bro442_ANIM_150.gif)


 . Ordered the front springs from Eaton and basically everything else fron Greg over at supercars. Saved quite a bit but think I made him a rich and happy man today ;D. Also, ordered the chassis paint kit from Eastwood so ready to rock and roll
  . Used Eastwoods 3-part Chassis paint system, blasted to white metal as advised by RAM Z.