|
|
Post by RAM Z on Oct 18, 2013 21:28:35 GMT -5
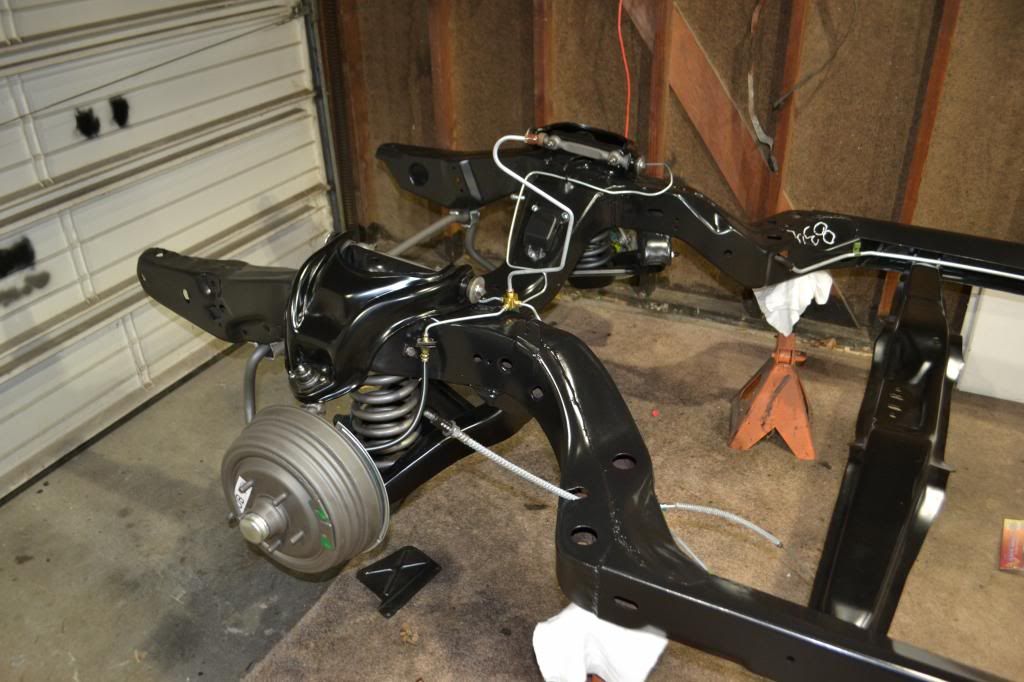
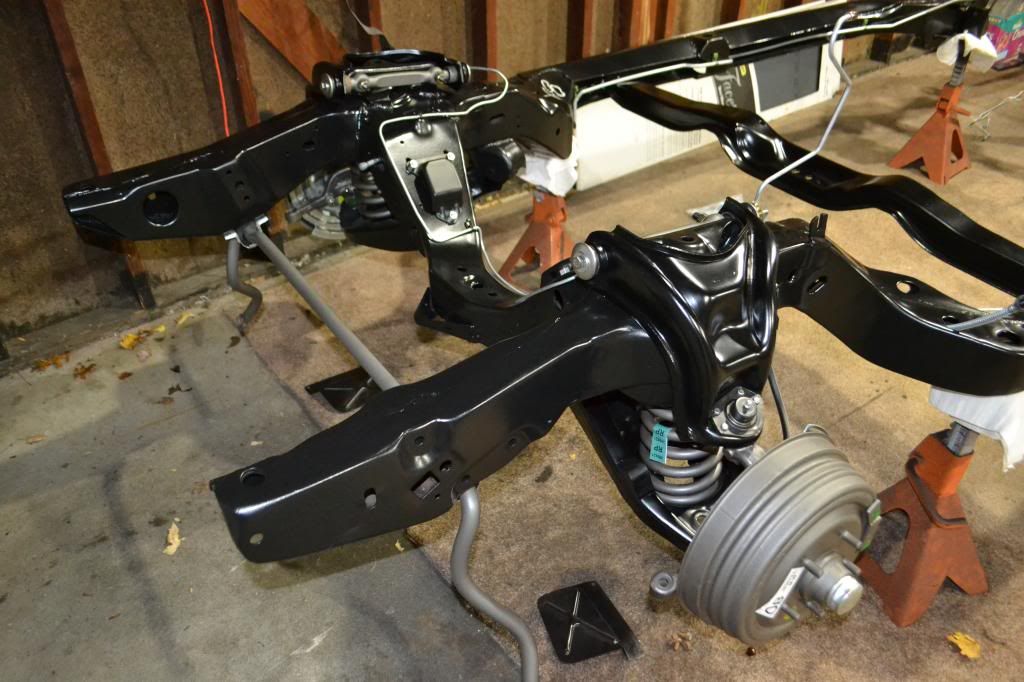
Got the springs installed, what a pain in the ass. Drivers side took all afternoon, first spring compressor wouldnt come out after the I put the spring in. Second one wouldnt compress it enough. It took 6 45lb plates, some tires, a head, and myself to get it far enough into the ball joint to start the nut. Nicked up the control arm and the spring pretty good. Other side took 5 minutes, no nicks at all. Must have been the all day practice on the other side.   |
|
|
|
Post by oldsproject on Oct 19, 2013 9:12:08 GMT -5
Jason, looks great! Noticed youre going black on the transmission cross member?
|
|
|
|
Post by RAM Z on Oct 19, 2013 11:37:02 GMT -5
Thanks Brian. I like the look of black better. The silver/bare metal paint looked too fake to me. Moving on to the rear end next. Do you remember if the rear wheel cylinders were good to use?
|
|
|
|
Post by shane on Oct 19, 2013 12:12:29 GMT -5
Look real good J ,I should drop off the other frame I have and let you work on that one. Also thanks for the tip on the springs I will be ordering some soon.
|
|
|
|
Post by RAM Z on Oct 19, 2013 12:56:25 GMT -5
Rears are the same Shane, 60 bucks cheaper at NPD. The 65 GTO standard rear spring is the same as the HD 442 rear spring. Id go for the HD springs over the saggy ass standard 442 springs.
|
|
|
|
Post by RAM Z on Oct 20, 2013 17:33:03 GMT -5
Drummin...  |
|
|
|
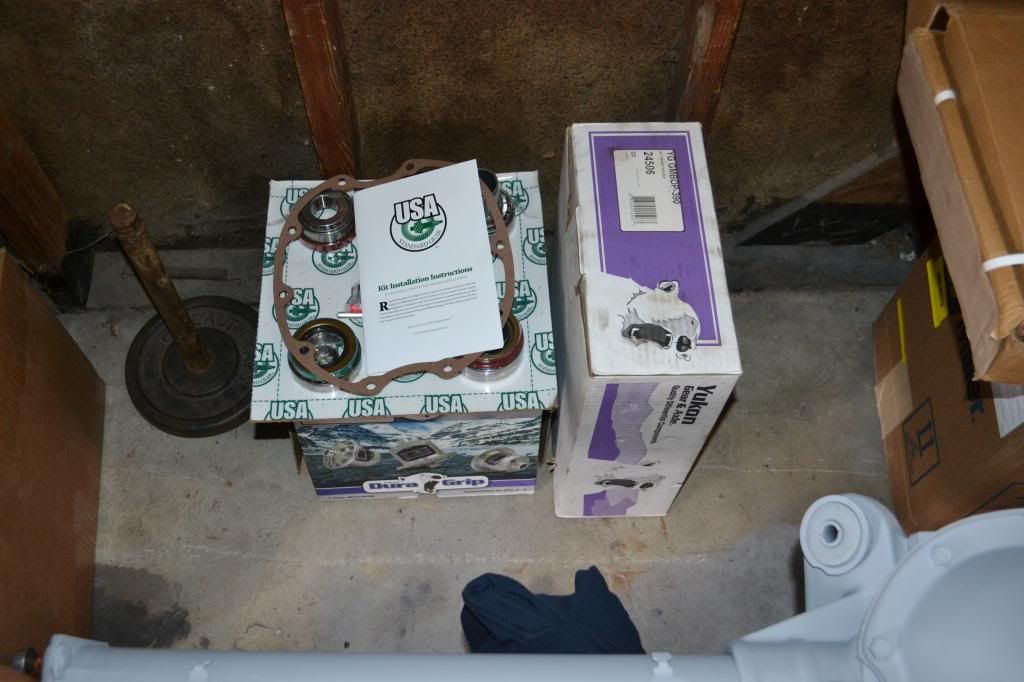
Post by RAM Z on Oct 23, 2013 19:35:12 GMT -5
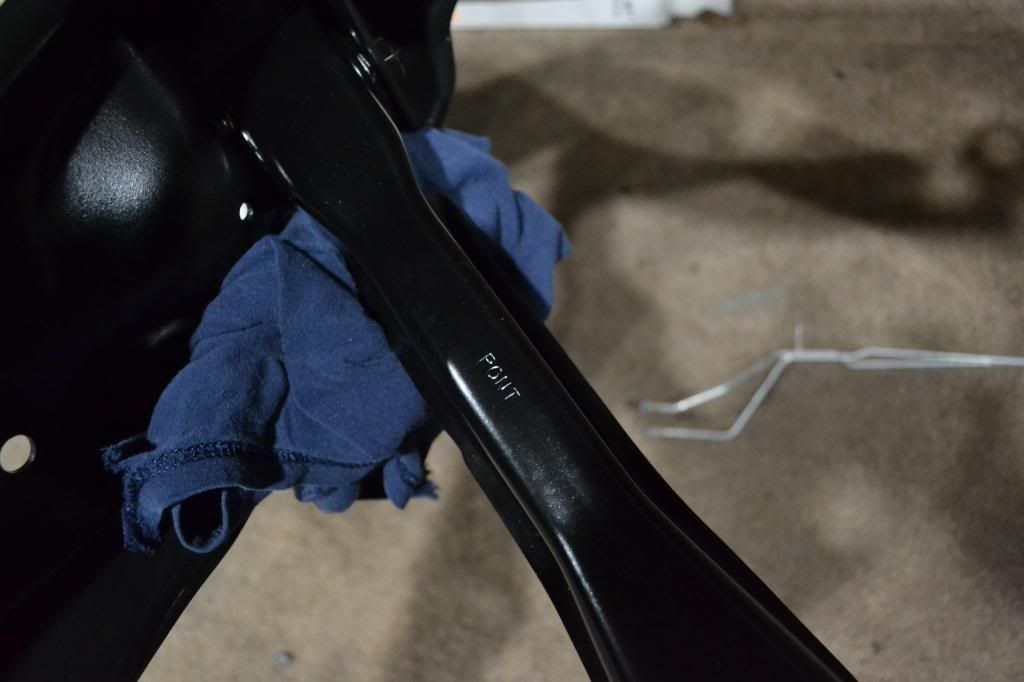
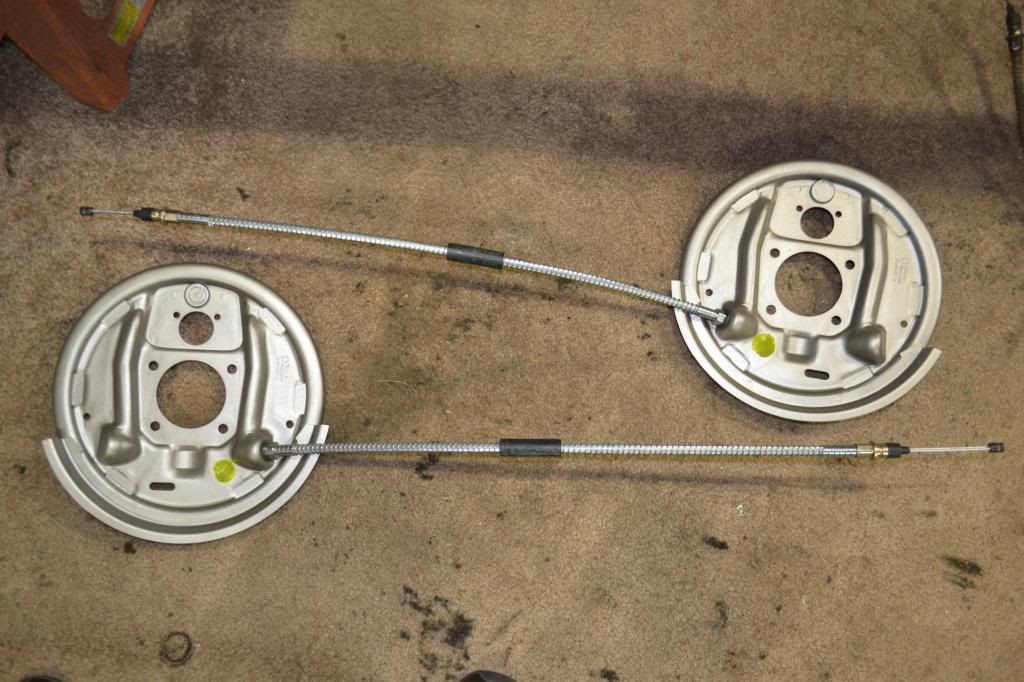
Rear backing plates appear to be galvanized. The portion behind the axle flange is still mint. E brake cable has yellow inspection daub next to it. 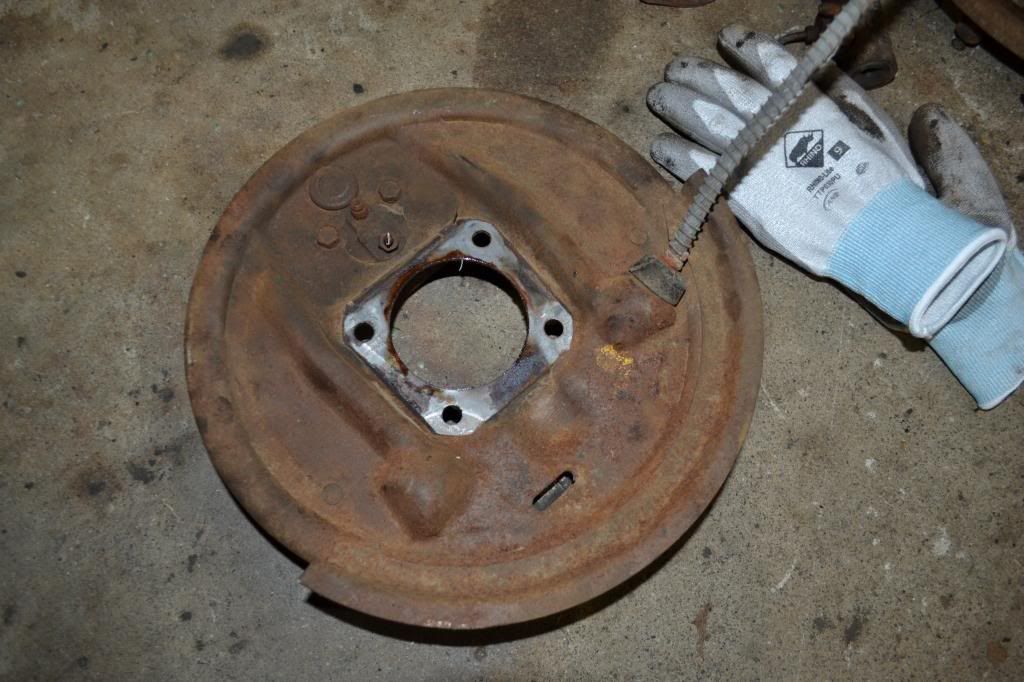 |
|
|
|
Post by 64b09 on Oct 25, 2013 11:09:18 GMT -5
Lookin' good
|
|
|
|
Post by oldsproject on Oct 25, 2013 20:49:57 GMT -5
Thanks Brian. I like the look of black better. The silver/bare metal paint looked too fake to me. Moving on to the rear end next. Do you remember if the rear wheel cylinders were good to use? Yes sir, should be just fine. |
|
|
|
Post by RAM Z on Nov 10, 2013 21:37:17 GMT -5
|
|
|
|
Post by hairyolds on Nov 11, 2013 19:09:30 GMT -5
I'm just a little disappointed in your choices.
|
|
|
|
Post by RAM Z on Nov 11, 2013 19:40:08 GMT -5
I know, I am too. It sucks.
|
|
|
|
Post by oldstata on Nov 11, 2013 19:55:14 GMT -5
Can you take or email me a pic of how / where you drilled the holes for the rear sway bar. I been thinking of buying the box plate I would like to see a close up
|
|
|
|
Post by hairyolds on Nov 11, 2013 19:59:34 GMT -5
Well at least you admit it. Some of the suppliers can't/won't admit to being wrong.
I will see you on the 23rd bring lots of cash!
More pics of the shed please.
|
|
|
|
Post by RAM Z on Nov 11, 2013 20:05:48 GMT -5
Well at least you admit it. Some of the suppliers can't/won't admit to being wrong. Theres only the one Ive dealt with so far. Made sure to get everything on right away to make sure it fit. Front line fit like shit, had to bend it a ton to get it to fit. |
|
|
|
Post by RAM Z on Nov 11, 2013 20:17:16 GMT -5
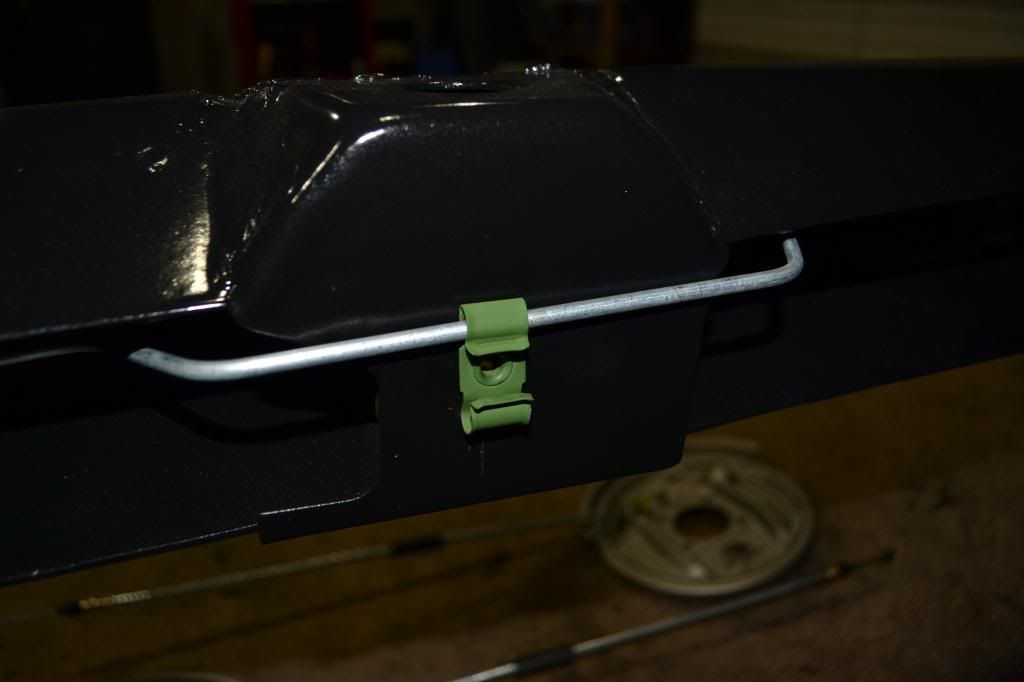
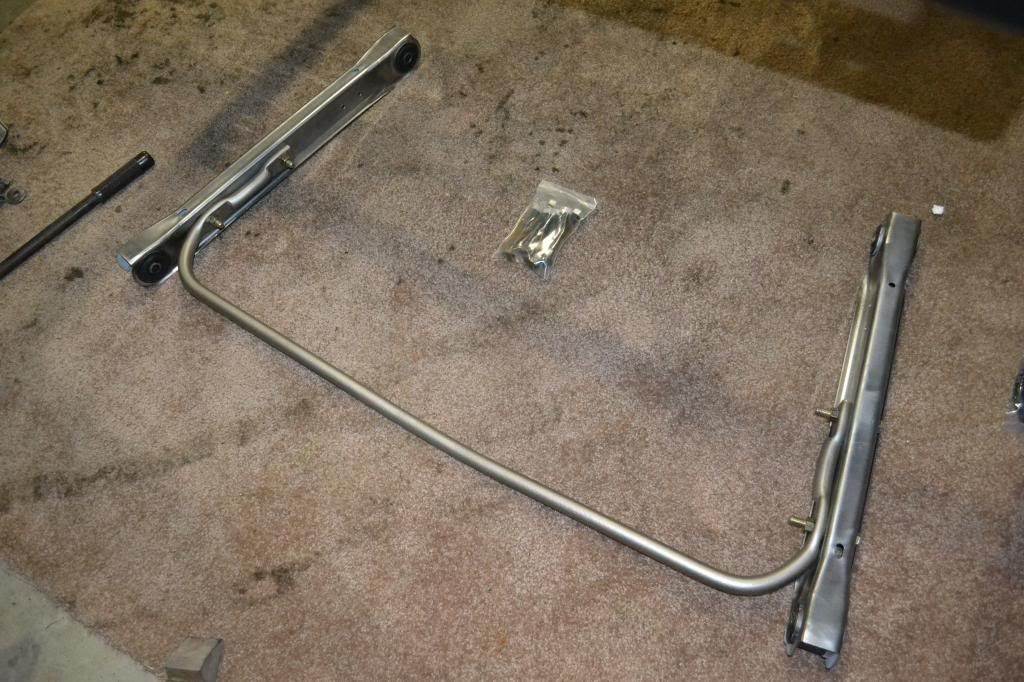
Can you take or email me a pic of how / where you drilled the holes for the rear sway bar. I been thinking of buying the box plate I would like to see a close up Measure from the back edge of the lower arm bolt hole, 5 inches to center of first hole, 11 inches to center of second bolt hole. Sway bar holes are on center with each arm bolt hole. |
|
|
|
Post by RAM Z on Jan 18, 2014 16:33:01 GMT -5
|
|
|
|
Post by oldsproject on Jan 19, 2014 13:40:07 GMT -5
Looking good as usual Jason, I finally got off my butt and am making good progress too. Will post some updates. Really does look good man!
|
|
|
|
Post by keener on Jan 19, 2014 16:45:27 GMT -5
Agree with Brian, looks great Jasen. Winter in the midwest is a great time for resto work.
|
|
|
|
Post by RAM Z on Jan 19, 2014 19:26:40 GMT -5
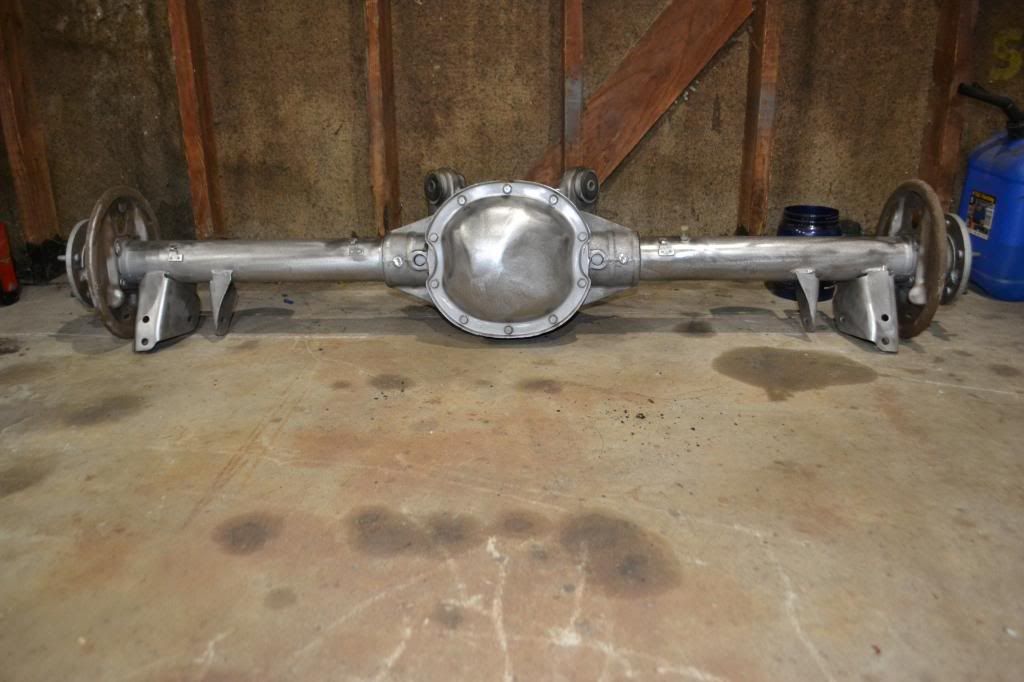
Rear brakes  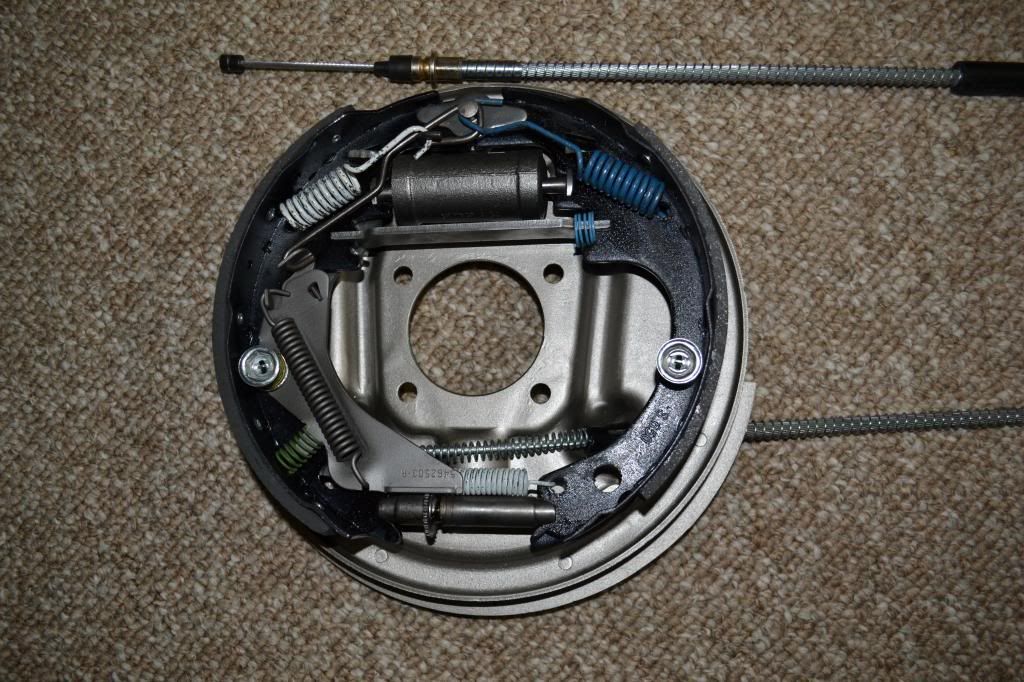 |
|