|
|
Post by oldstata on Jan 1, 2014 10:53:33 GMT -5
Thanks rob yeah I am ADHD and have a hard time focusing so I bounce around a bit
My dealers body shop is slow during the summer so I am doing body work during summer and drive train during the winter
My wife says it keeps me out of trouble tho
|
|
|
|
Post by oldstata on Jan 2, 2014 16:07:51 GMT -5
|
|
|
|
Post by oldsproject on Jan 7, 2014 22:14:31 GMT -5
Just getting caught up on this build. Wow, i thought i had alot of metal work  nice job so far. |
|
|
|
Post by oldstata on Jan 18, 2014 21:27:15 GMT -5
Okay guys ran into a snag I can't rotate and I can only get to a few of the rod caps so how do I remove crank and pistons ? 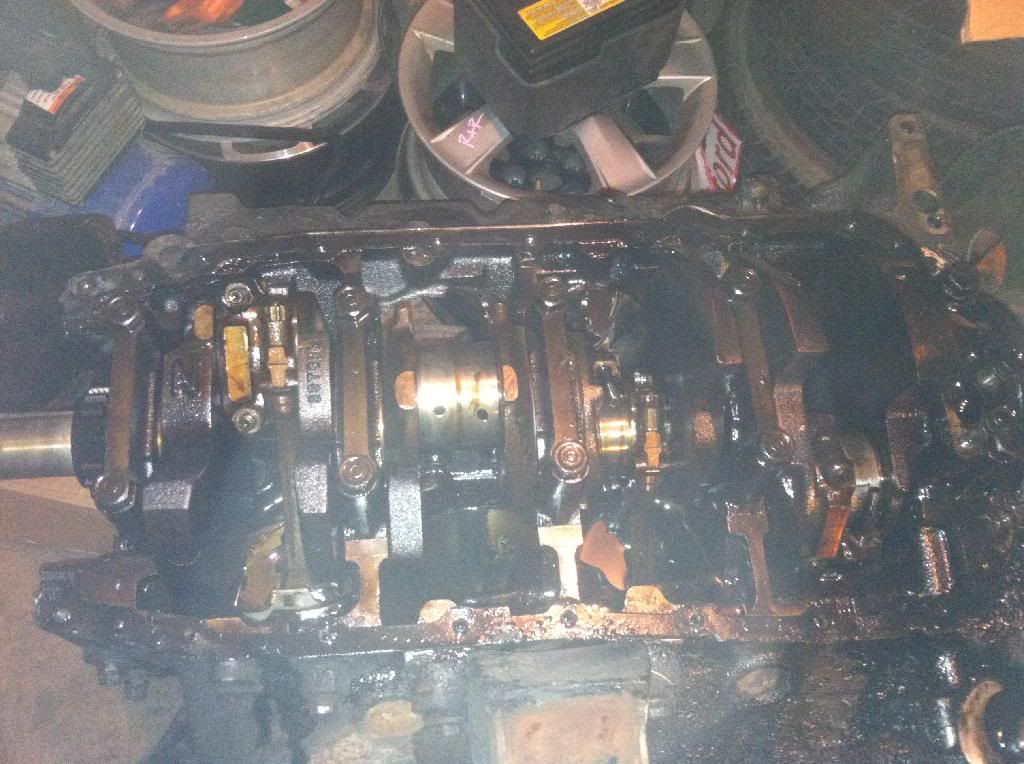 Also what does the big N stand for on the crank |
|
|
|
Post by keener on Jan 18, 2014 21:48:25 GMT -5
The best 455 crank with casting number 397363, also had the letter "N" on the front of the crank. So, you have the better iron crank for that era. It handles a lot of abuse and high revving.
|
|
|
|
Post by oldstata on Jan 18, 2014 22:14:58 GMT -5
Cool the numbers match
Now to get it out with out damaging it. I think I might loosen all the main bolts and see if I can move it to get the rod bolts I really font know what else to try .
|
|
|
|
Post by oldstata on Jan 19, 2014 12:19:30 GMT -5
|
|
|
|
Post by BR[] on Jan 19, 2014 12:29:41 GMT -5
Not trying to be funny, but if you are having a shop do the work, why are you tearing it down. It's better if they mark everything as they tear it apart, instead of trying to figure out what went where.
|
|
|
|
Post by oldstata on Jan 19, 2014 13:34:01 GMT -5
I am marking every thing and it's saving me $$$ to tear it down my self they charge 60.hr for labor I think he quoted me four hrs. And it's not that hard my kids have been helping with tear down on top of that it's easy to bag and tag 8 rods and mark main caps
And I am braking the build up as money permits
Most likely I will clean and bore only for now this motor looks great it's to bad that two cylinders got water and locked it up
|
|
|
|
Post by oldstata on Jan 20, 2014 20:26:11 GMT -5
Tapped out nicely 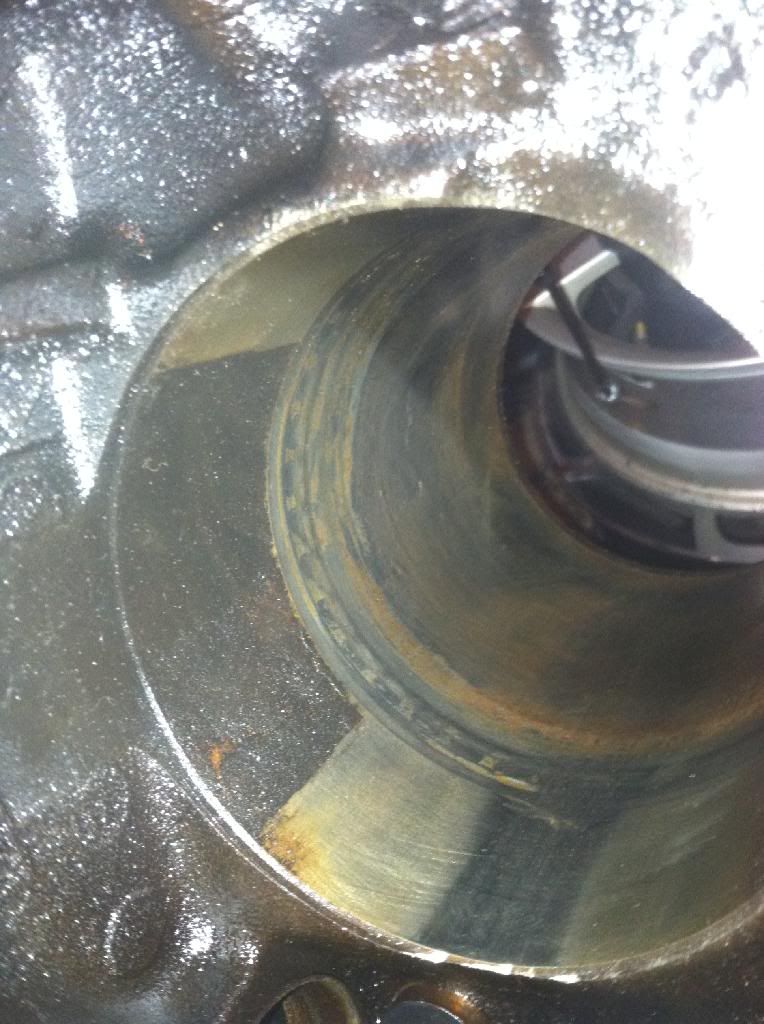 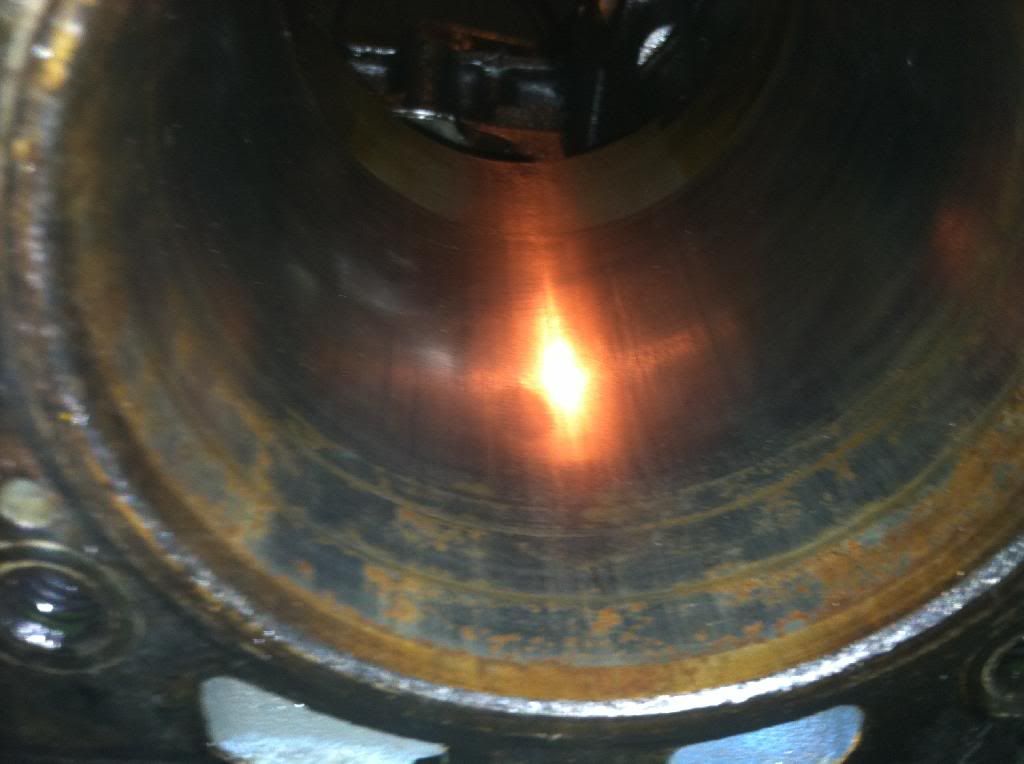 The two locked pistons cylinders looks like the rust isn't deep at all maybe I might not need to bore after all |
|
|
|
Post by stan65cutlass on Jan 20, 2014 20:30:12 GMT -5
if you hone it right, measure the bore, you might get away with an indian rebuild and just do rings and gaskets!
|
|
|
|
Post by oldstata on Jan 22, 2014 20:48:18 GMT -5
Thanks Stan that's what I think to but I might still bore to square it up the wife has approved a but of work to be done
The shop quoted me 50.00 to clean mag and measure so I can get a game plan together I might line bore and bore the cylinder first then cam bearings and freeze plugs next
Then rods / pistons and cam/ lifters then assembly of short block
Then heads I need to decide if I am going to install my ka heads or put the work into my a heads that are v coded
I am sure I am missing something but the machine shop is great I been talking with them for months about this build and process
|
|
|
|
Post by oldstata on Jan 30, 2014 19:04:36 GMT -5
Okay my ka heads that I picked up on a cracked block that had been rebuilt turned out great magged checked vacuumed and valves checked turns out they were indeed rebuilt and passed.
My block was cleaned and checked suggested to go .020 over
My N crank was great just needs a polish
Now here is what I plan to do if I get the cash before he sells the parts
Ka heads just mill off gasket crush thickness to match OE
Block eagle rods new icon pistons .040 going with these because I can get new ones that done one never installed new custom cam flat tapp hyd with new lifters Cloyes billet gears and chain
Eddie performer
Eddie 800cfm carb
Stock exhaust manifold dual exhaust
Olds 12 bolt 3:23
Th400
|
|
|
|
Post by oldstata on Feb 8, 2014 15:36:32 GMT -5
Well summer is around the corner so started up on body work again. hopefully this spring I can finish up shell and paint by August 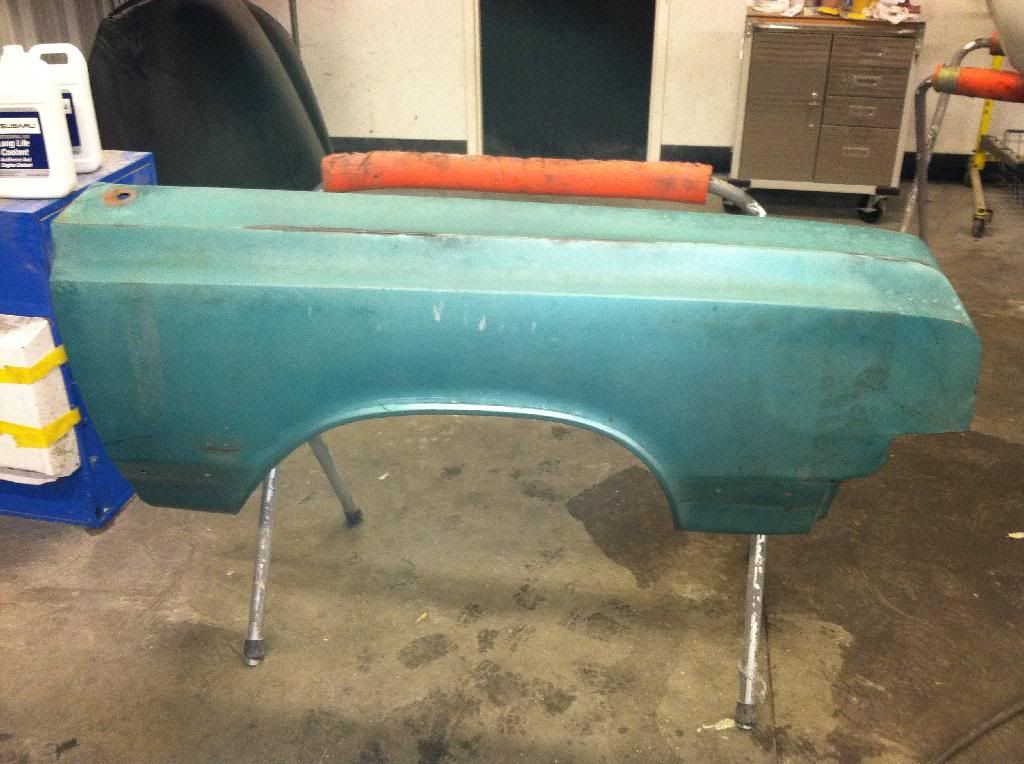 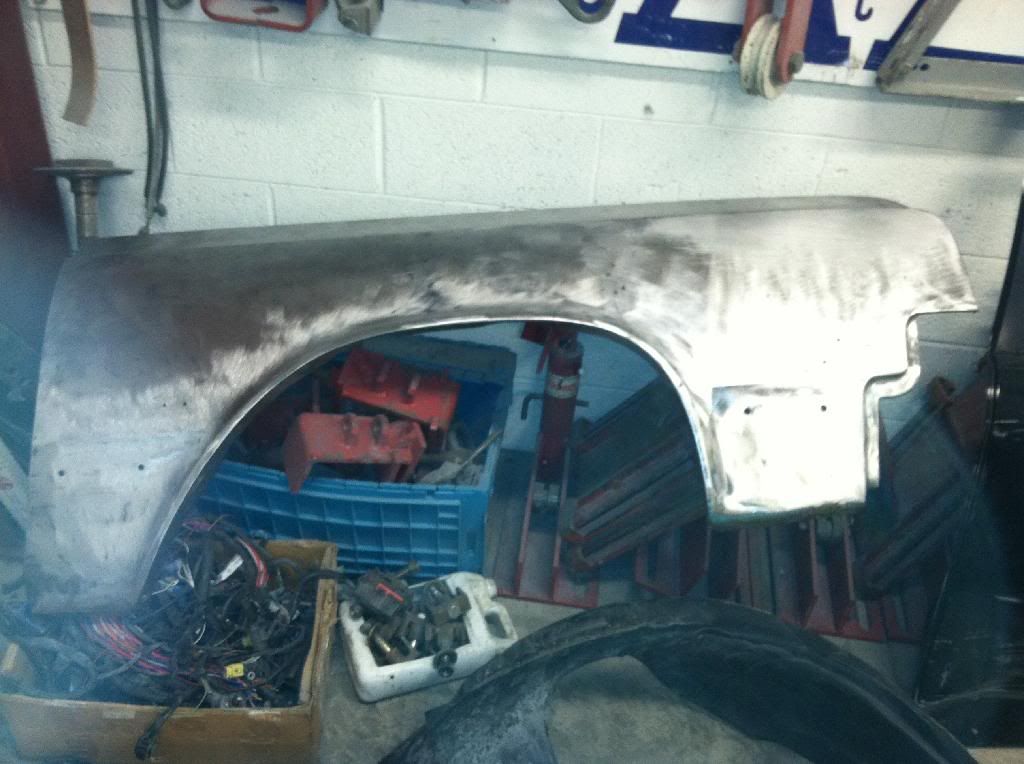 |
|
|
|
Post by oldsproject on Feb 9, 2014 14:12:01 GMT -5
This is where the fun starts |
|
|
|
Post by oldstata on Feb 9, 2014 14:31:23 GMT -5
This is where the fun starts X2 I was just looking at your build. I ve been getting some good tips on things. I still need to do I've kinda been nervous about taking the ac apart how bad was it? and did you get a new seal or is it like a silicone base ? |
|
|
|
Post by oldsproject on Feb 9, 2014 15:44:13 GMT -5
Depending exactly what you mean and which parts I guess. The interior Doesn't use any gaskets looks to be plumbers caulking. I used butyl tape instead which should be fine I'm thinking. OPGI makes a kit for the exterior firewall components. I haven't fit them yet so not sure if they are worth a damn but look like they will be fine.
|
|
|
|
Post by oldstata on Feb 19, 2014 21:57:03 GMT -5
The parts for the short block I planned on getting fell through so I took it as a sign to hold off on building the big block . To get things updated, I been working the dents out of the right front fender I almost have it ready for prime all metal work and no filler at all 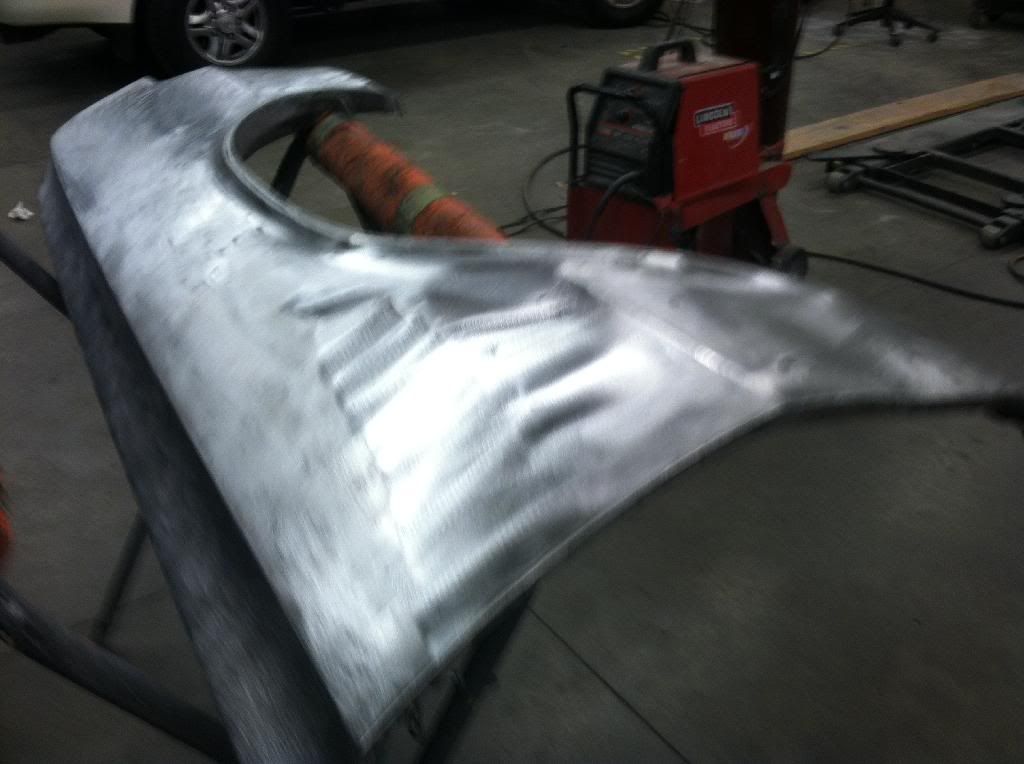 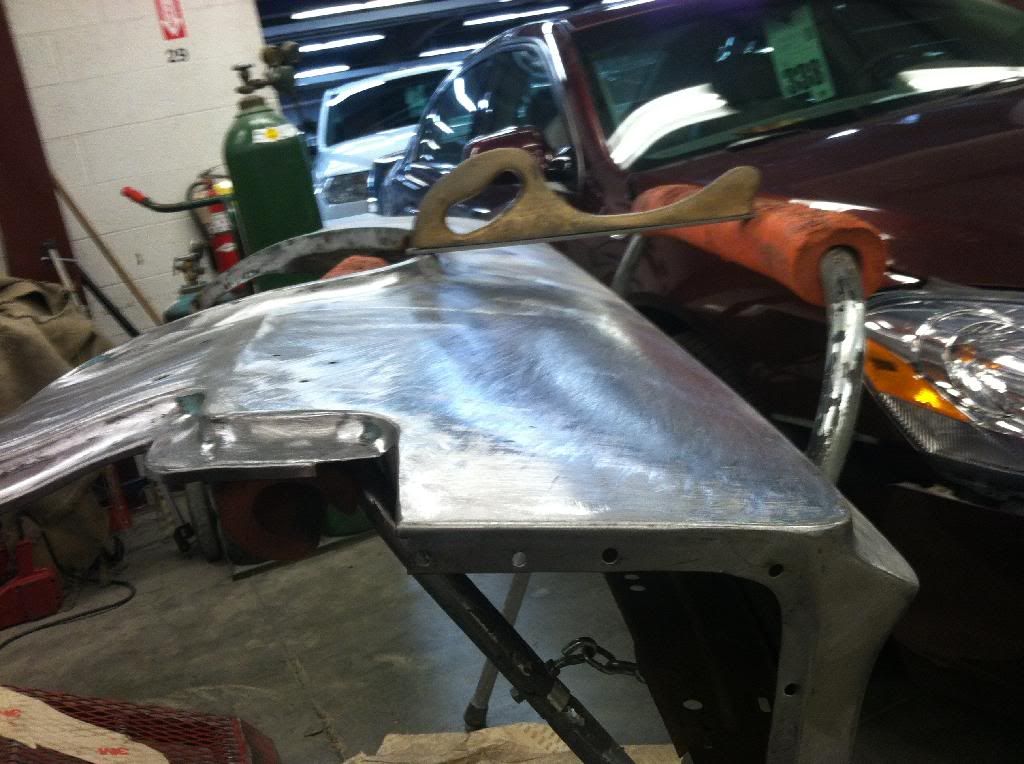 |
|
|
|
Post by stan65cutlass on Feb 19, 2014 23:16:59 GMT -5
nice work, your using heat too? something i need to look into.
|
|
|
|
Post by oldstata on Feb 20, 2014 8:31:26 GMT -5
Stan I haven't used heat on the fender I used a 40 grit to strip the old paint two layers and then 80 grit to smoothed it out. I've been using a flat file ( looks like a odd Z ) and a shaping tool to get the larger dents out . The smaller dents I've been using a pointer tool you line it up on top squeeze and it hit's from the bottom. Then using a old body file to find highs and lows. I welded up the f85 badge holes on the from of the fender and kept the v8 badge as I like them. I've yet to see a pic of a 442 with them, so hope I don't get beat up to bad for it but it is a clone. I will take a pic of the tools I've been using 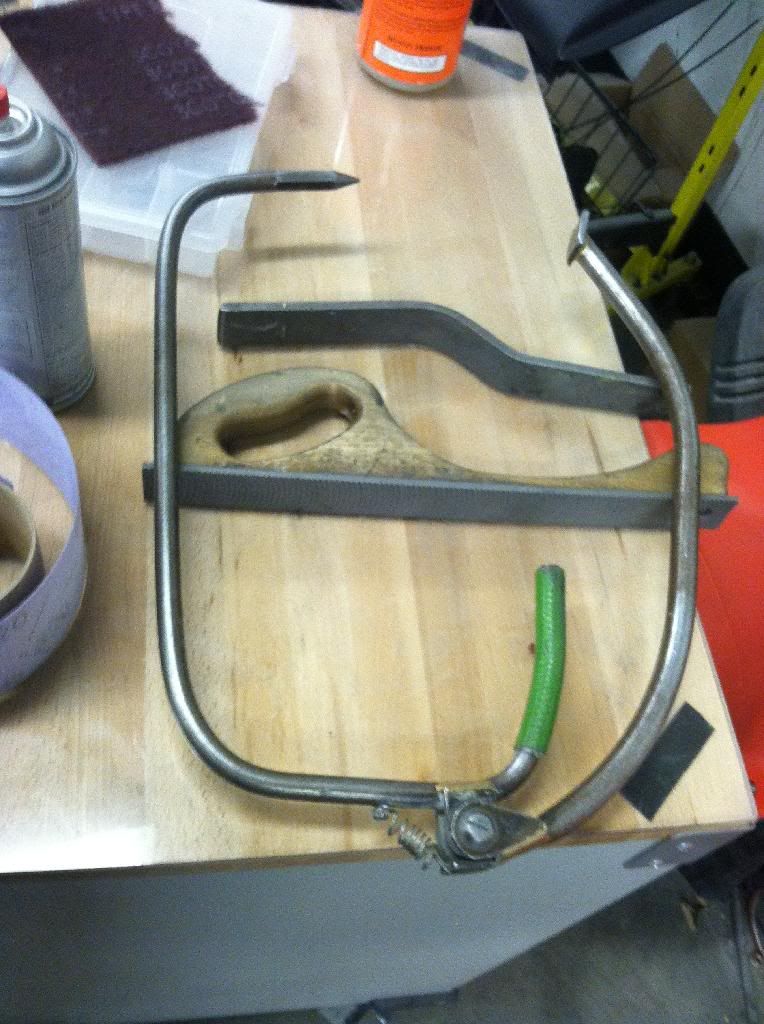 |
|


 nice job so far.


![BR[] Avatar](http://aliquippaoutlaws.homestead.com/Bro442_ANIM_150.gif)


