|
|
Post by keener on Sept 25, 2013 21:21:23 GMT -5
Well the emblems look good. I found the emblem for the side scoop at the last minute and figured you needed it more than me, so threw it in at no charge. I remember removing the paint many years ago and then tucked it away with my '64 442 emblems. Hope you are happy with them. BTW: the paint for the emblems that match the best are made by Testors. The three spray can colors you need are Model Masters (1) Hugger Orange (2) Grabber Orange and (3) Italian Red. I bought them on-line from Rider's Hobby Shop in Grand Rapids, MI. Paid around $4 per 3oz spray can. Plenty of paint to do all emblems plus many more. You need to spray them with clear coat at the end. It's a tedious process, taping off two of the numbers then spray one color. Let dry, then tape that number off, spray the next color. I applied tape to the whole emblem and cut out the numbers first. This keeps the number from being covered in paint. Good luck. Keep the posts coming on your progress.
|
|
|
|
Post by oldstata on Sept 25, 2013 22:38:50 GMT -5
Keener, this was a big surprise my wife actually got these with out me knowing I showed her them sent you a pm and she some how did the rest.
Thank you very much I will look into the paint a small part of me likes the look of the faded paint but I am sure it will be done before I put them on the car.
Winter seems to be on its way I might not get as much done as I intended before I drag her home
|
|
|
|
Post by oldstata on Sept 28, 2013 20:59:17 GMT -5
So I burned up my grinder yesterday was so frustrated I just wrapped it up and came home !
|
|
|
|
Post by oldstata on Oct 4, 2013 17:20:05 GMT -5
So progress is slow lately but I bought some parts to help do e one out today and talked olds with the guy (Chris )
For about a hr he has a 67 442 that he had since high school kicker was his friend had a 65 and he some how got the drive train out if it and it's currently in his 67 he informed me today that he gave it to his son so he could enjoy seeing him enjoy it (WOW) now that's a way too look at it
|
|
|
|
Post by oldstata on Oct 8, 2013 20:51:35 GMT -5
Found this pic the day I got the old girl with her nasty wheels 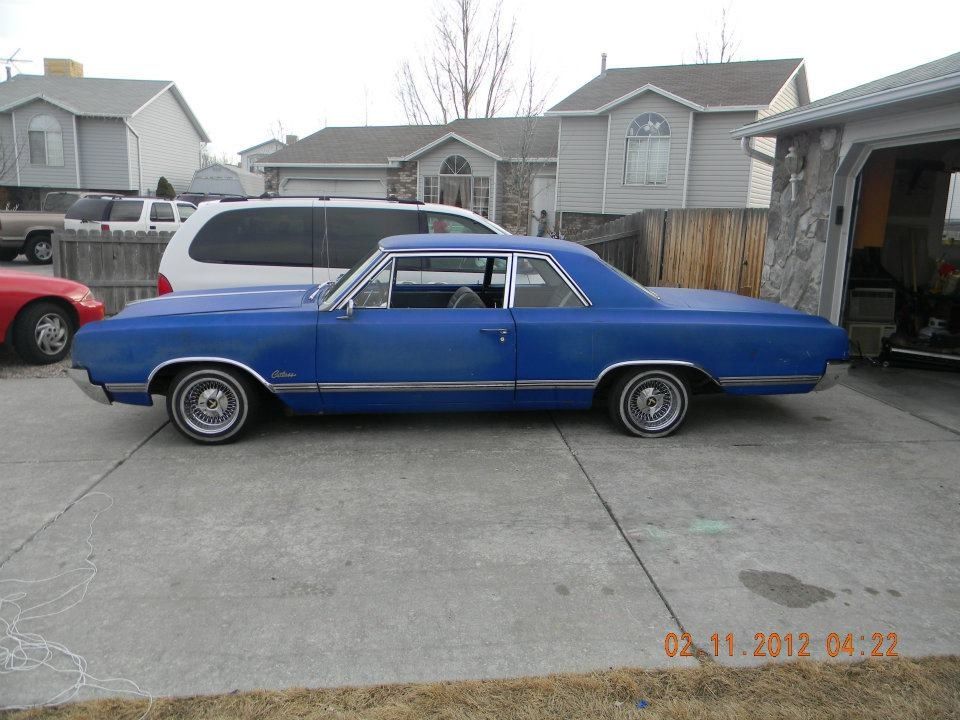 |
|
|
|
Post by oldstata on Oct 9, 2013 18:01:48 GMT -5
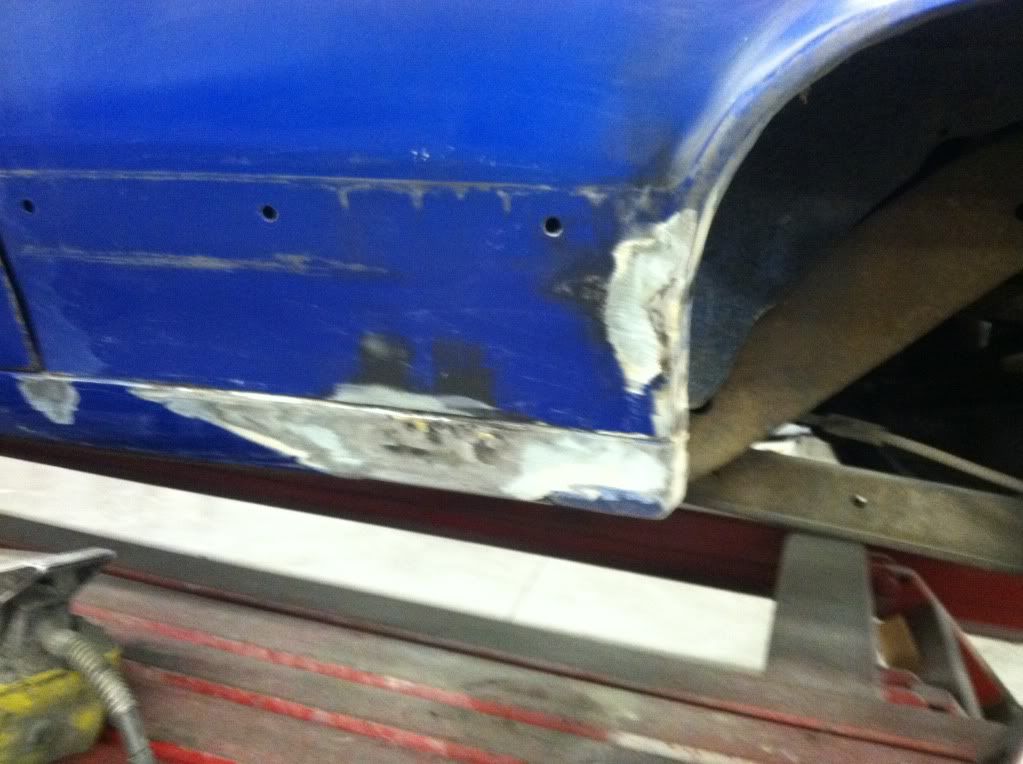
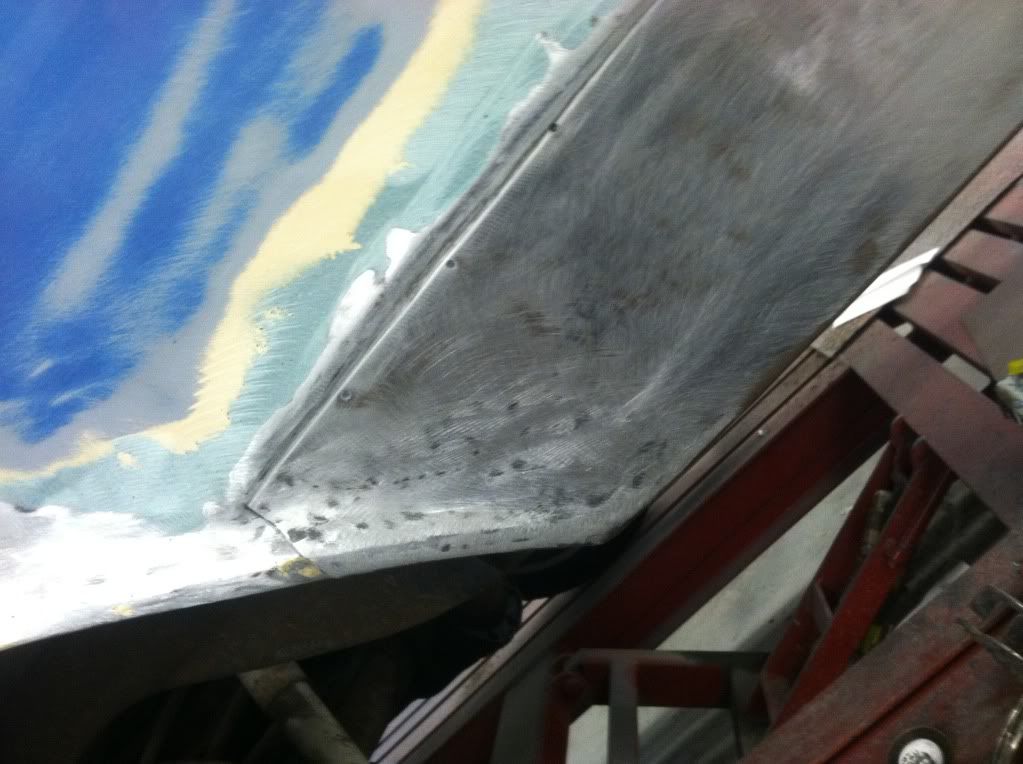
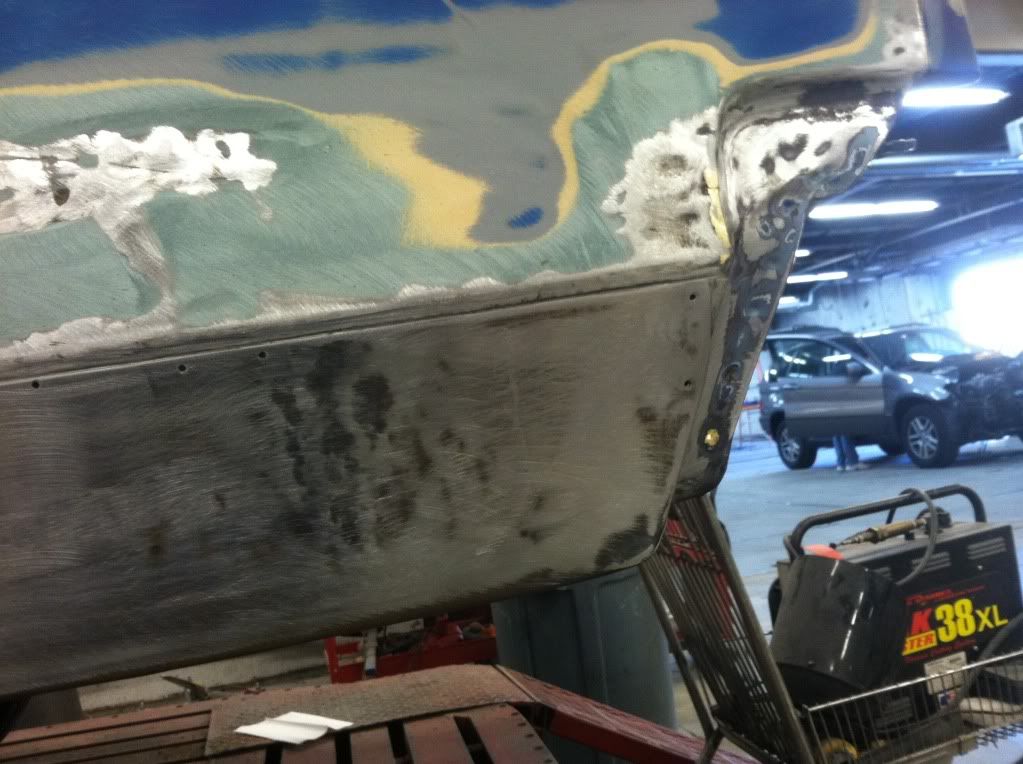
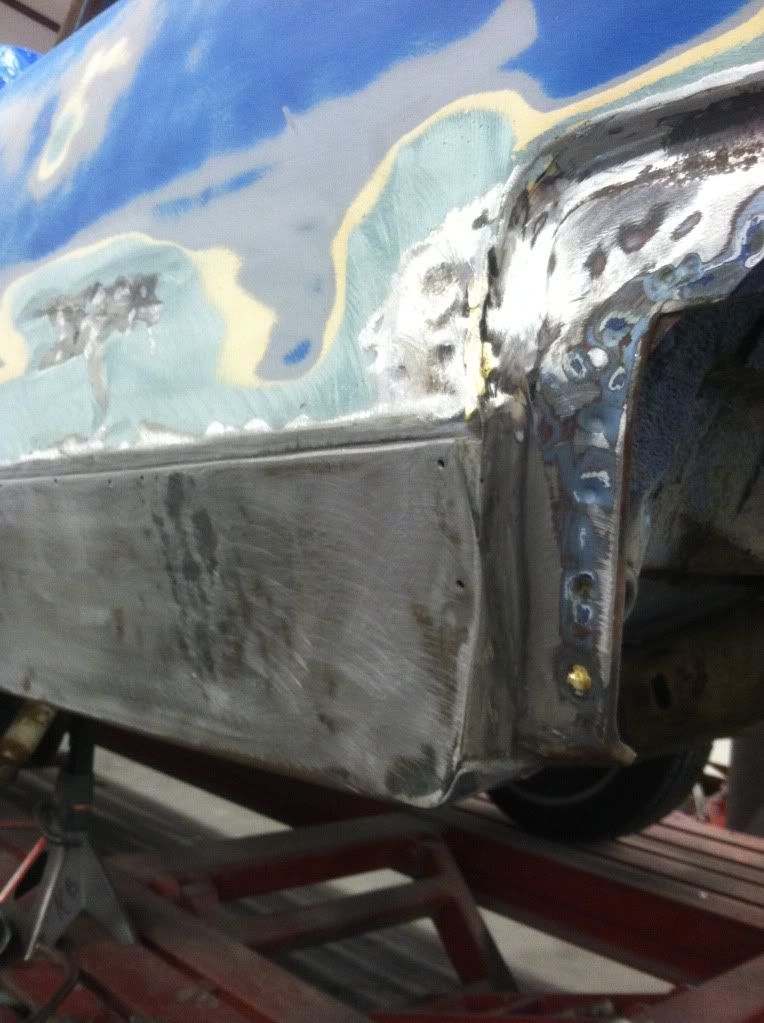
Left rear quarter wow 1/2 inch thick of bondo 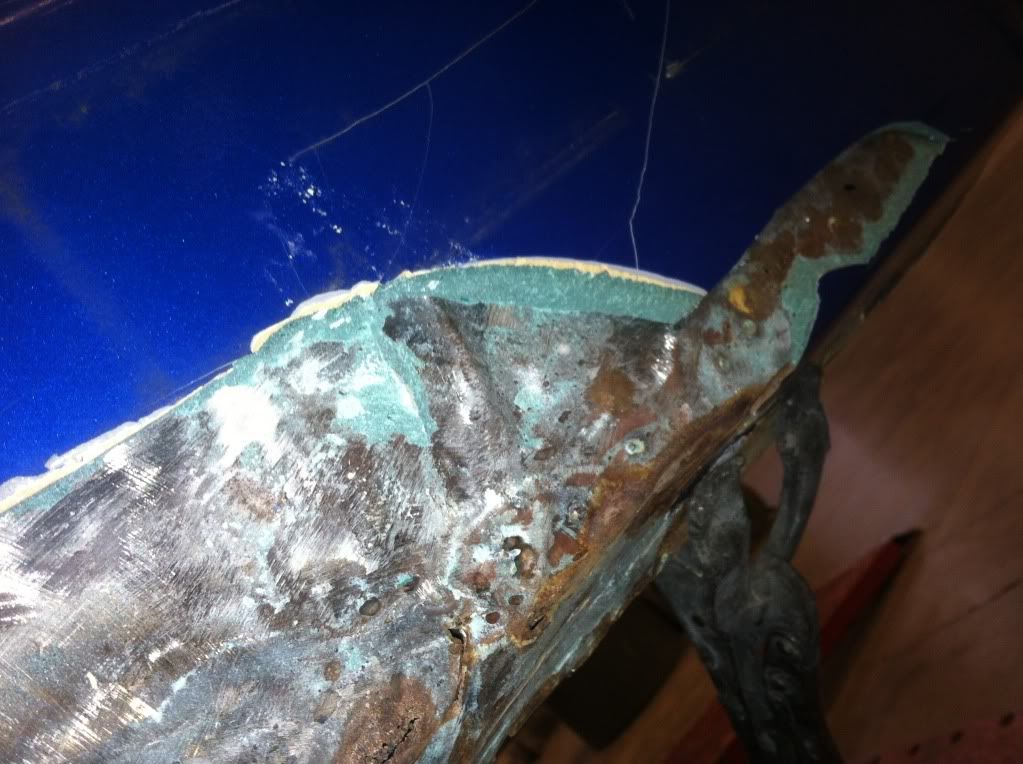  Hammered most of the mangled part out but need to strip the whole section to figure out what's the game plan is |
|
|
|
Post by oldstata on Oct 11, 2013 20:07:27 GMT -5
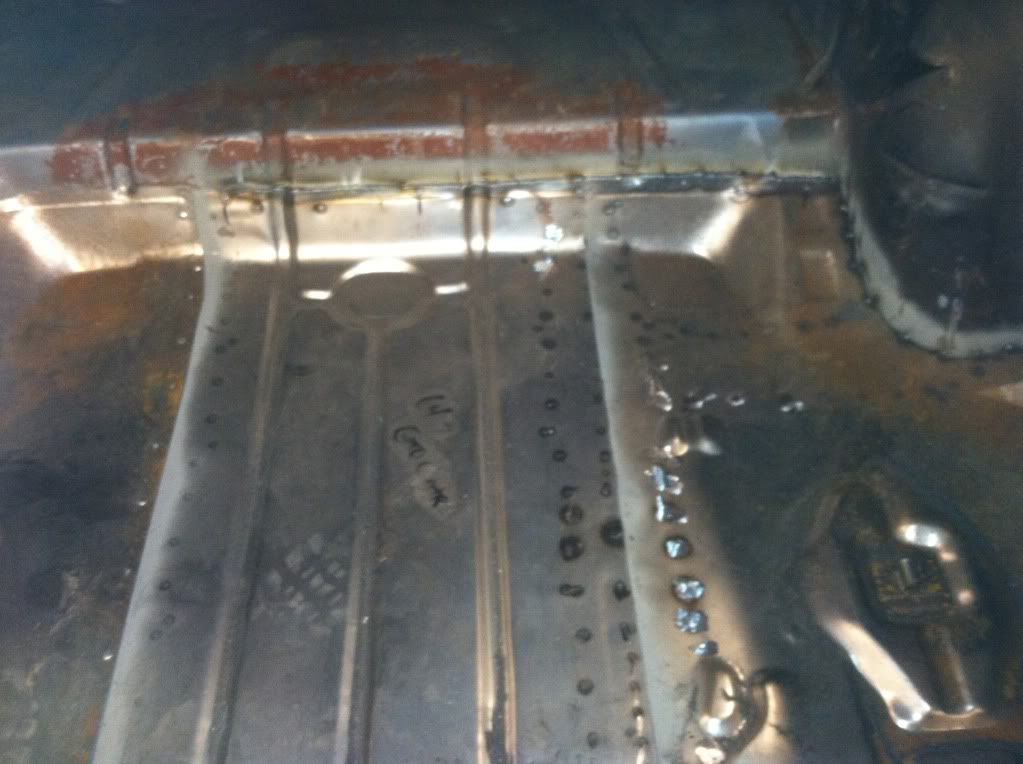
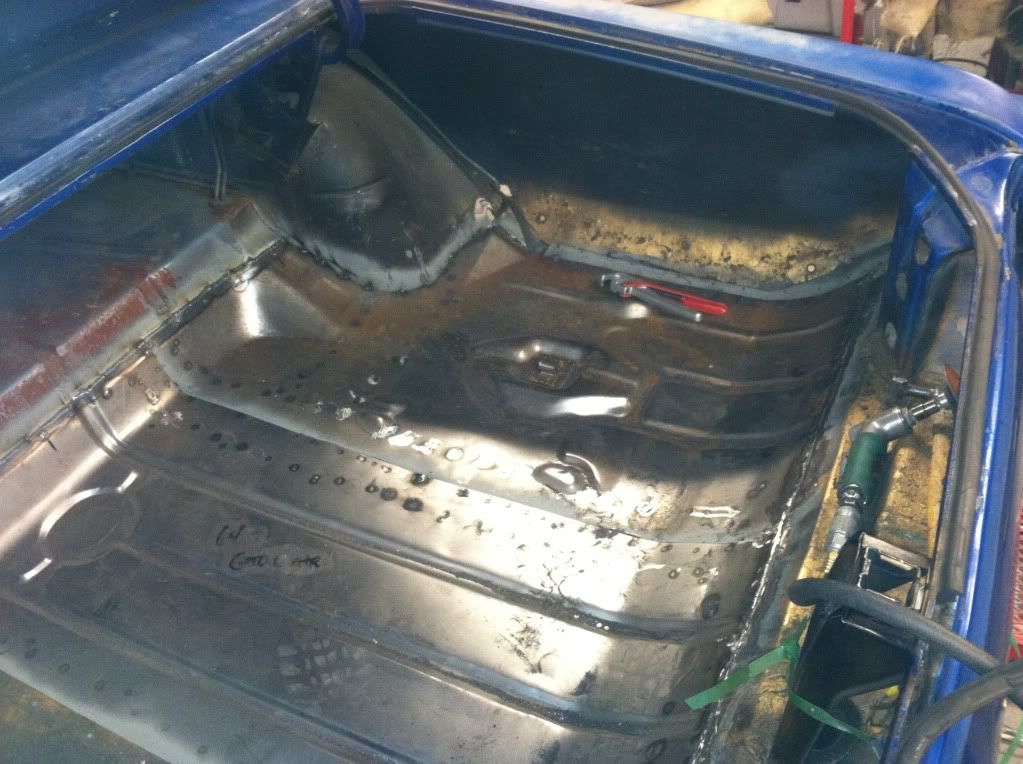
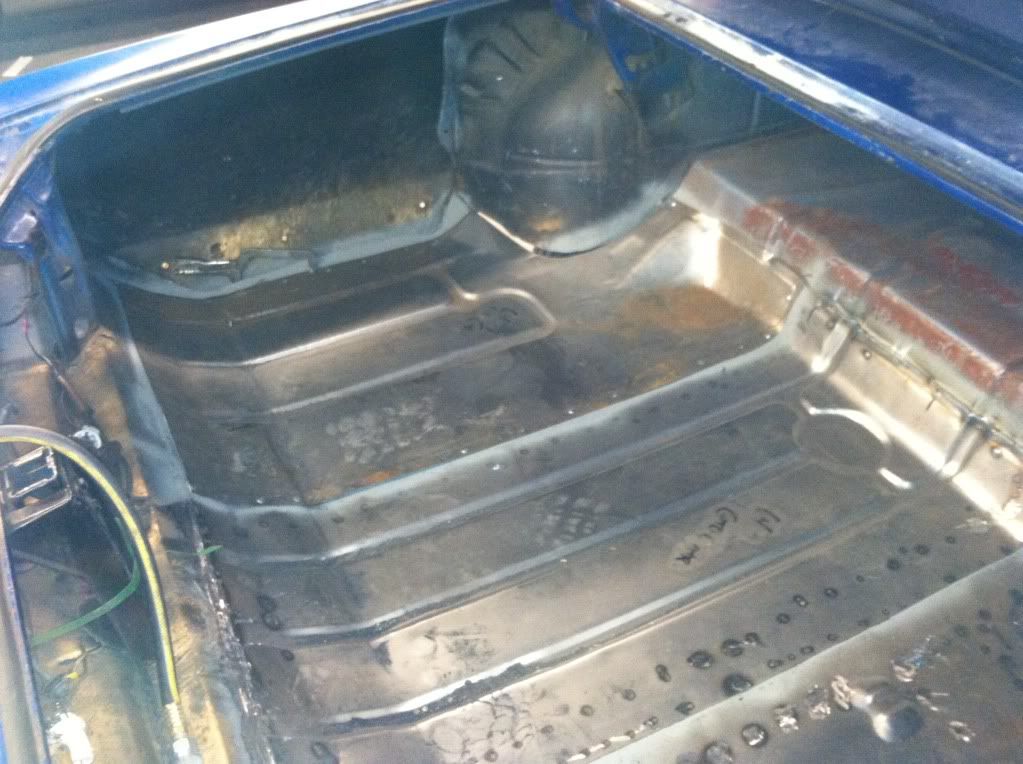
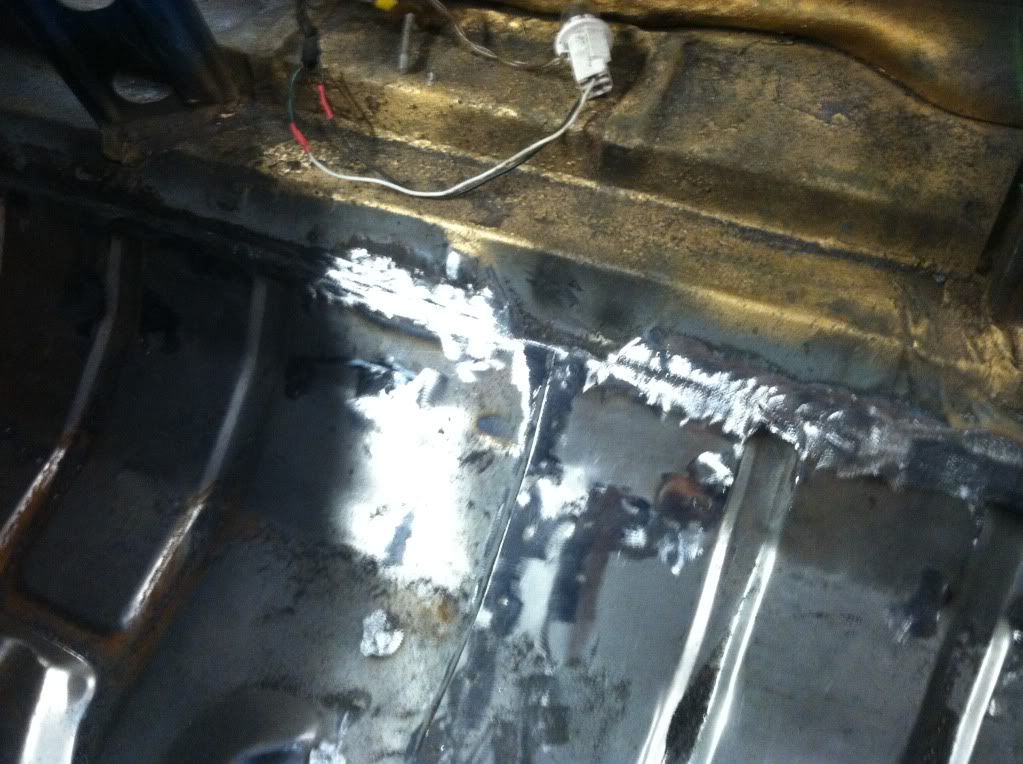
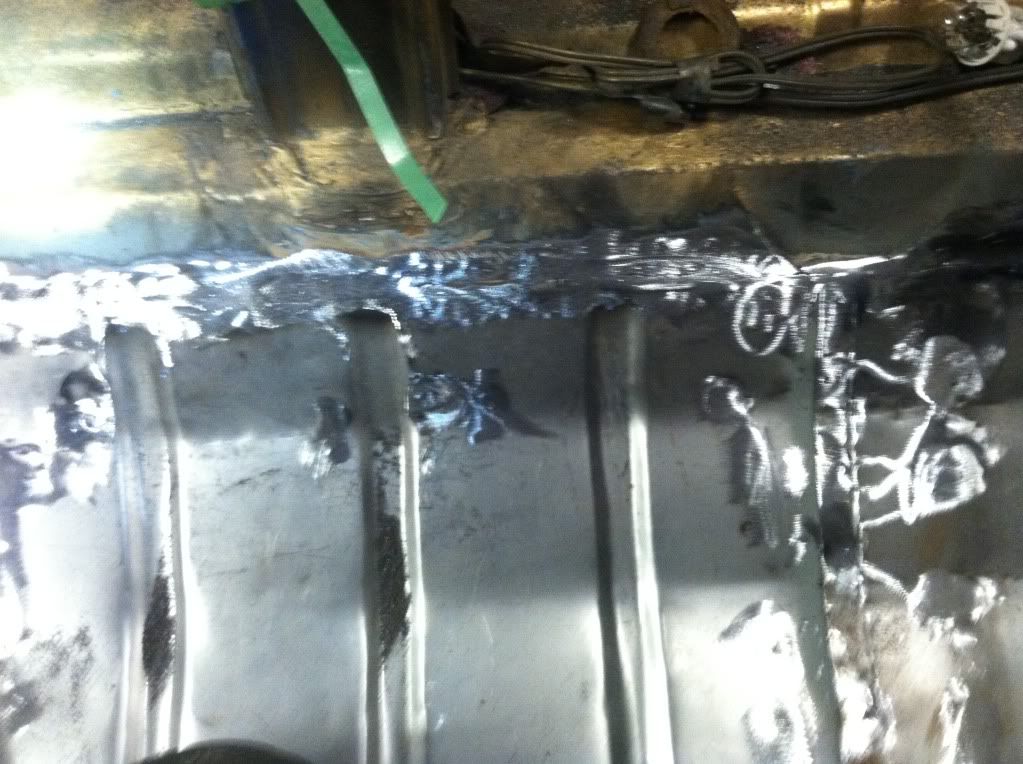
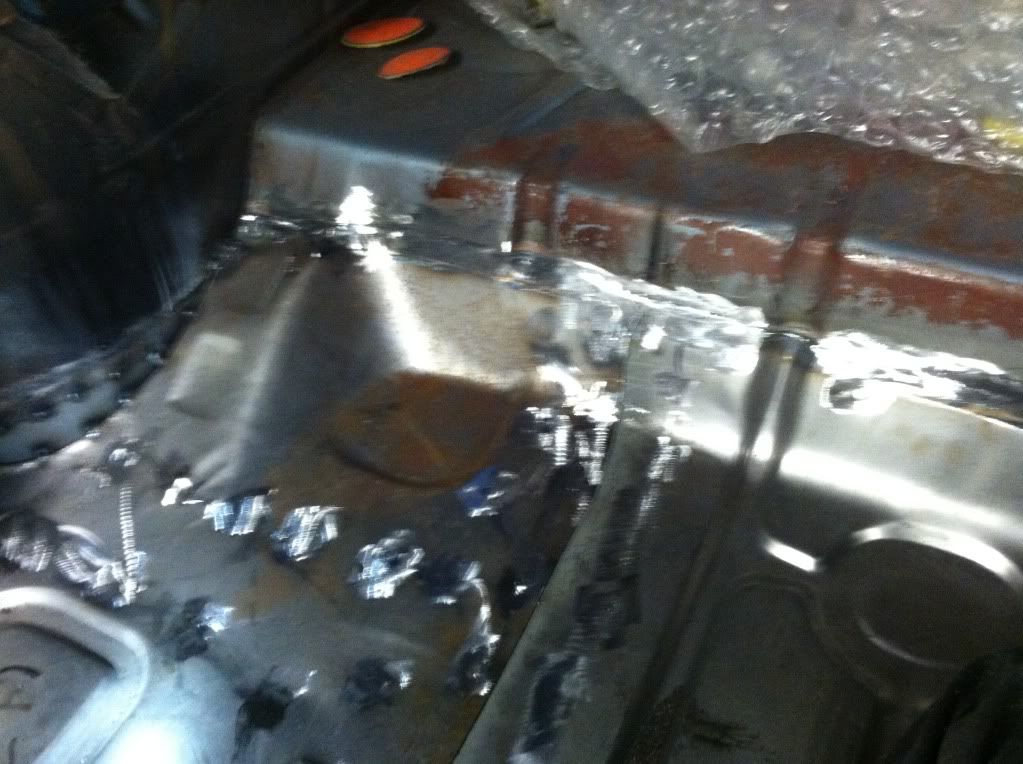
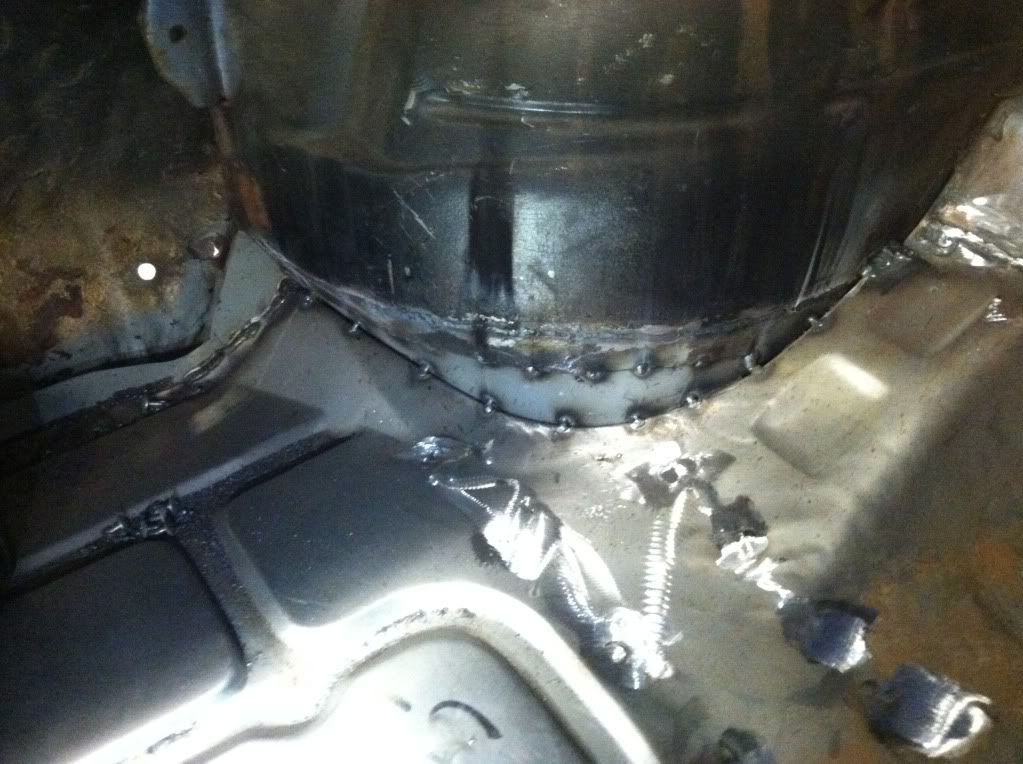
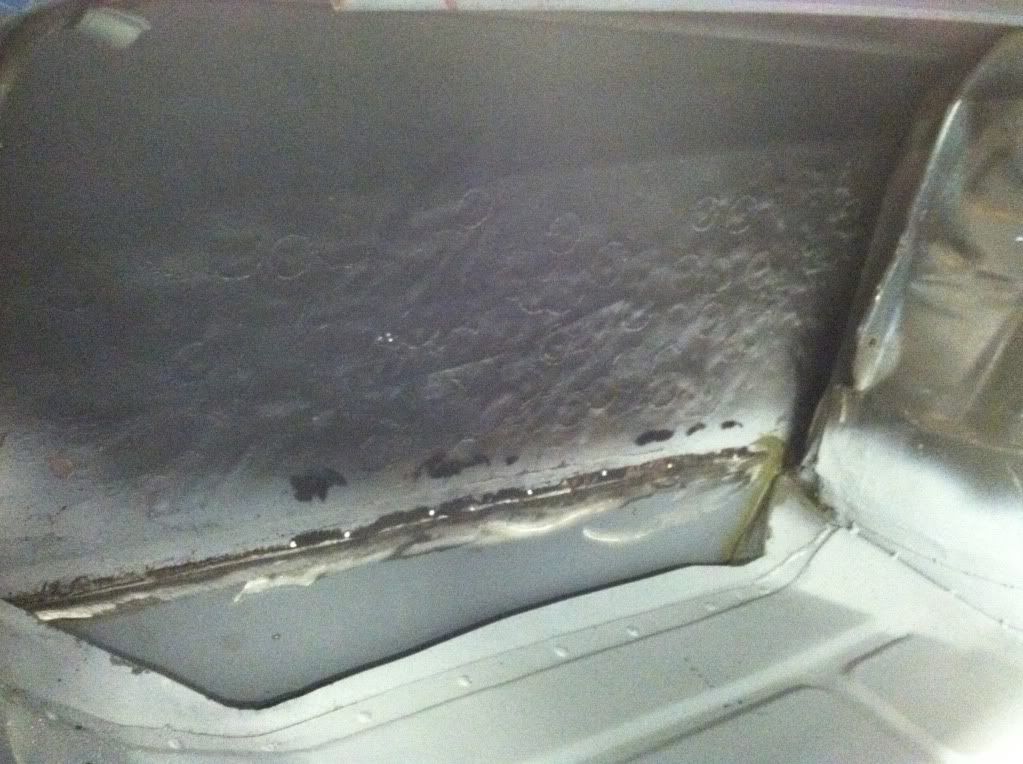
Welded up most of the trunk today decided not to glue it down and ran straight beads around the butt of the seams
Also I am getting ready to work on making a patch section for the rear quarter was wondering if there might be a interest in the heal section of the front fenders left and right I believe right side is nice but the left would need mild work
|
|
|
|
Post by oldstata on Oct 12, 2013 10:23:28 GMT -5
|
|
|
|
Post by shane on Oct 12, 2013 16:44:18 GMT -5
Progress is such a beautiful thing. Looks good keep it coming.
|
|
|
|
Post by RAM Z on Oct 12, 2013 17:05:15 GMT -5
Keep pluggin away.
Quarters are typical. Cant believe nobody has stepped up to make a patch panel for us.
|
|
|
|
Post by oldstata on Oct 12, 2013 18:22:43 GMT -5
Yes I wished they would do quarter patches too maybe the demand is too little ?
What's funny is the left quarter isn't rotted at all just banged up. when I look at it there was no reason for the bondo to be so thick ,it could of easily been 1/4 inch thick to hide most of it . I know there is bondo where the left side scoop will go hopefully not as thick
Right quarter is rotted tho
Yes progress is good I think the car has wore out her welcome at work a bit so I will bring it home for the winter and take it back in the spring
|
|
|
|
Post by oldstata on Oct 19, 2013 19:48:17 GMT -5
So I am going to see if I can use a lower section of a front door from a four door to make a patch for the right lower quarter will post pics of progress maybe it will work . If not no harm in trying
|
|
|
|
Post by oldstata on Oct 22, 2013 19:32:38 GMT -5
Left wheel well patch 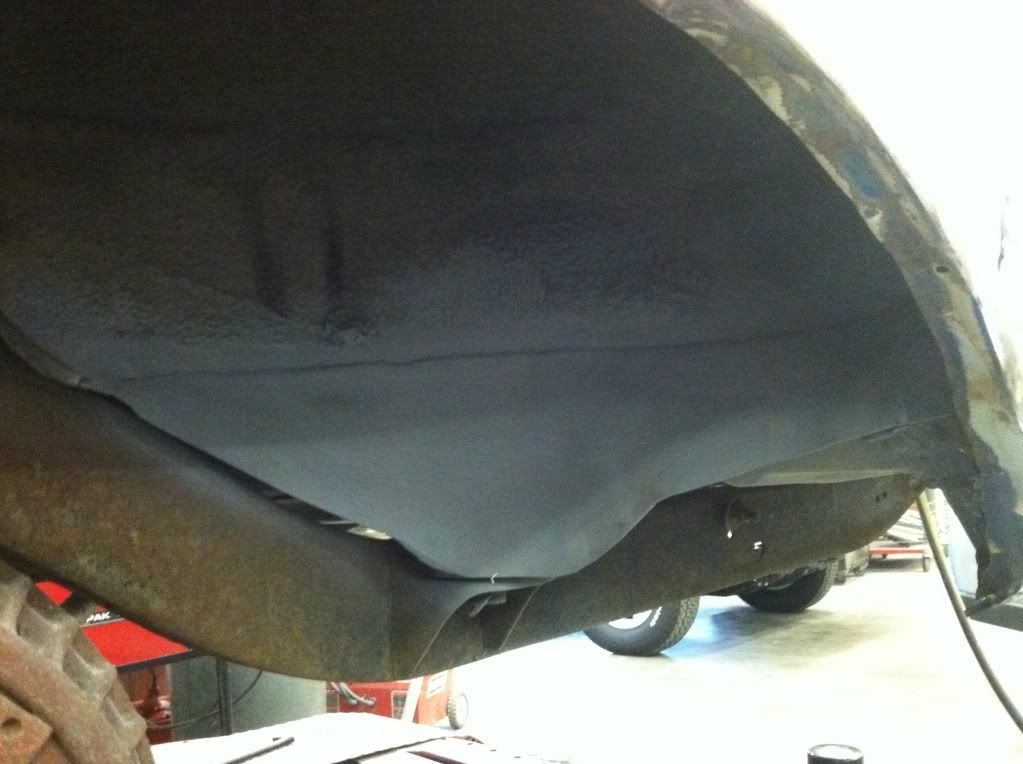 Left rear lip area repair 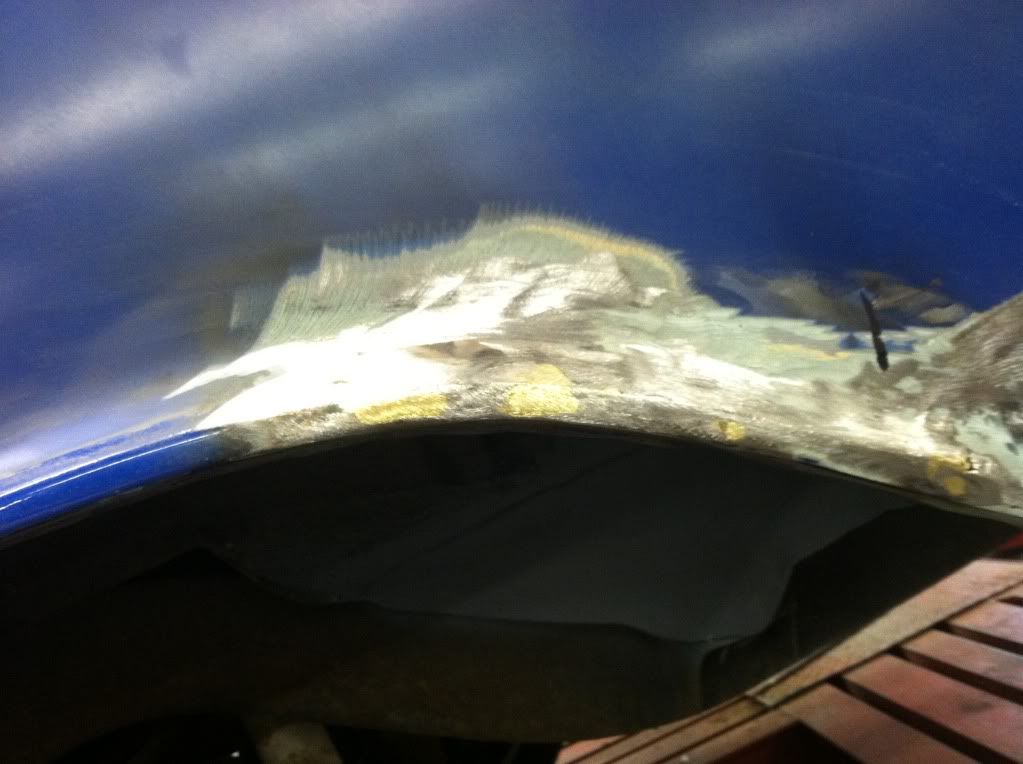 Left rear quarter repair but decided to make a patch section more to come 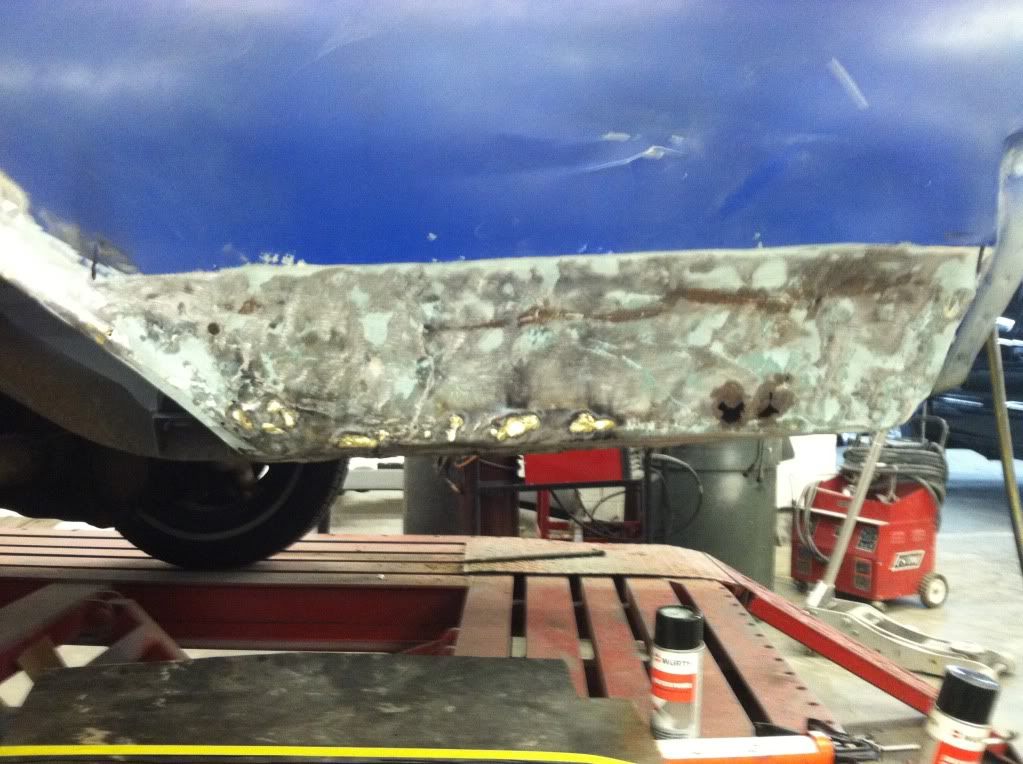 |
|
|
|
Post by oldstata on Oct 24, 2013 19:48:06 GMT -5
|
|
|
|
Post by oldstata on Oct 28, 2013 14:29:05 GMT -5
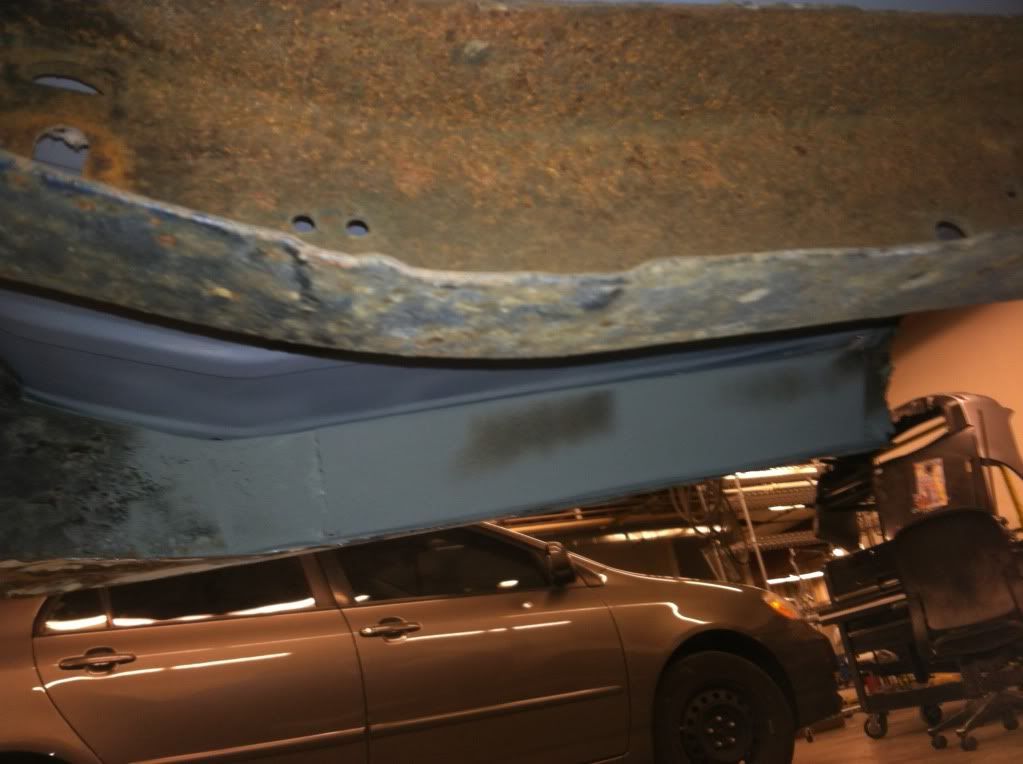
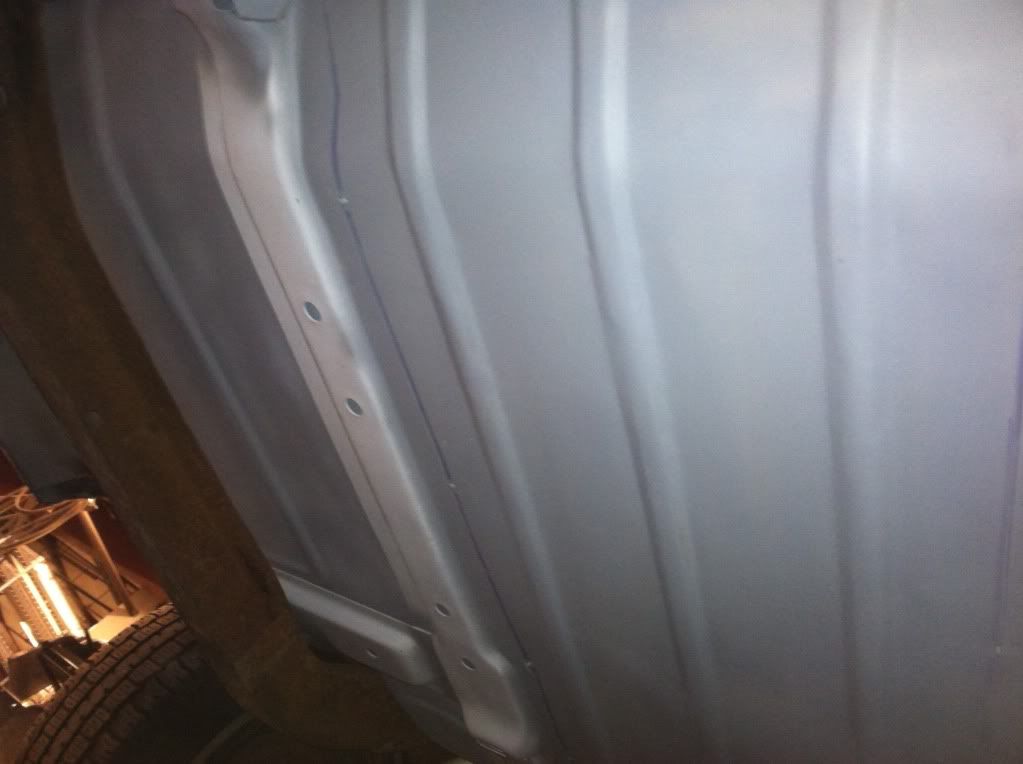
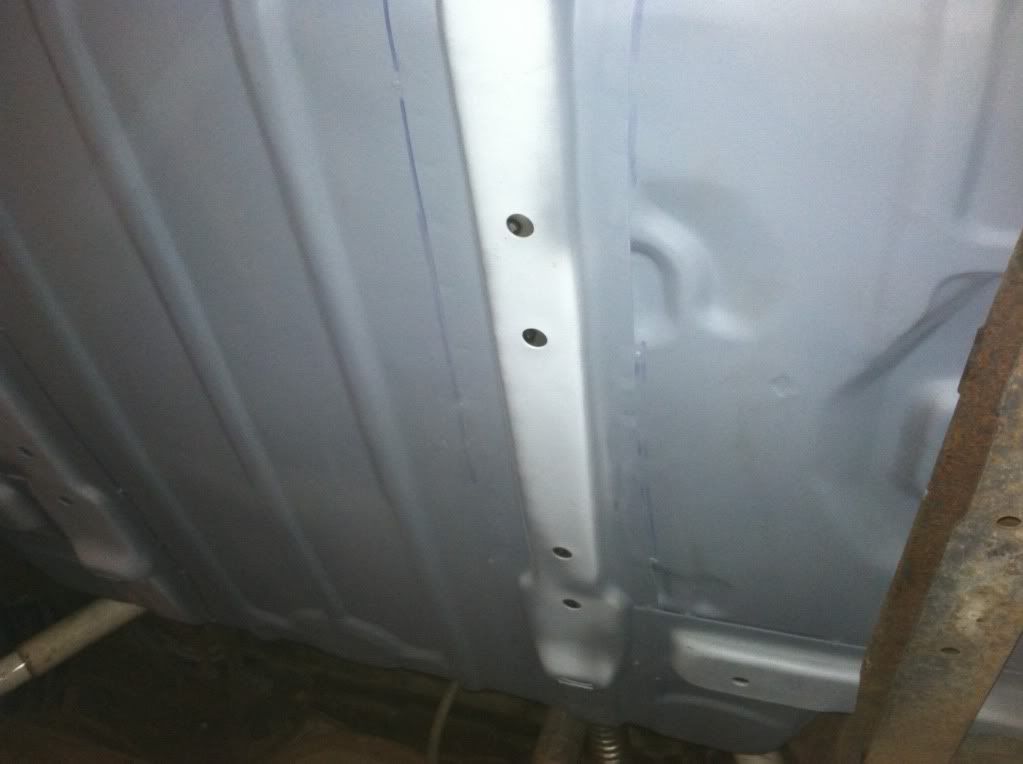
Primed it up today just need seam sealer 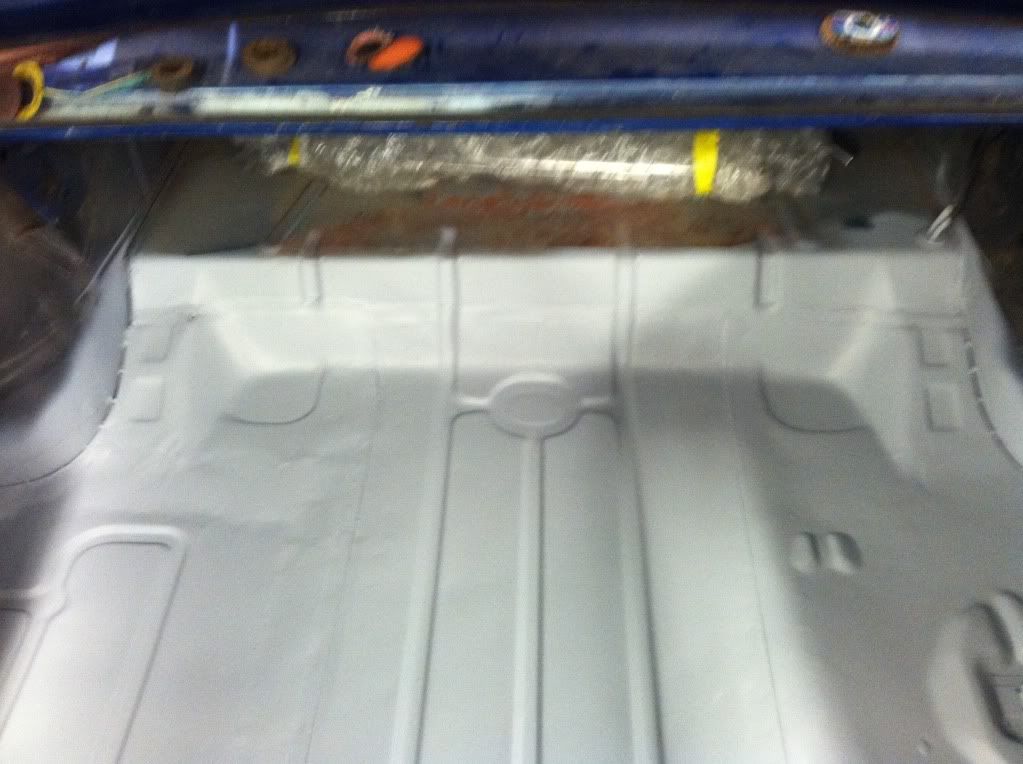 |
|
|
|
Post by oldstata on Oct 29, 2013 21:08:23 GMT -5
Does any one know if there is a difference in 64/65 under hood ac parts ?
I have the chance to get my missing ac parts but it looks a tad different then again Iam missing parts
Thanks
|
|
|
|
Post by oldstata on Nov 1, 2013 17:35:59 GMT -5
|
|
|
|
Post by oldstata on Nov 1, 2013 17:47:03 GMT -5
Keep in mind I am going to try and pull as much if the fiberglass out the last body guy should have been a sculpture artist not a body guy
|
|
|
|
Post by oldstata on Nov 1, 2013 18:19:41 GMT -5
|
|
|
|
Post by stan65cutlass on Nov 1, 2013 19:18:09 GMT -5
looks like the backside of mine, and the patch on the wheelwell also, nice progress
|
|