|
|
Post by real57vetteguy on Nov 22, 2011 22:53:36 GMT -5
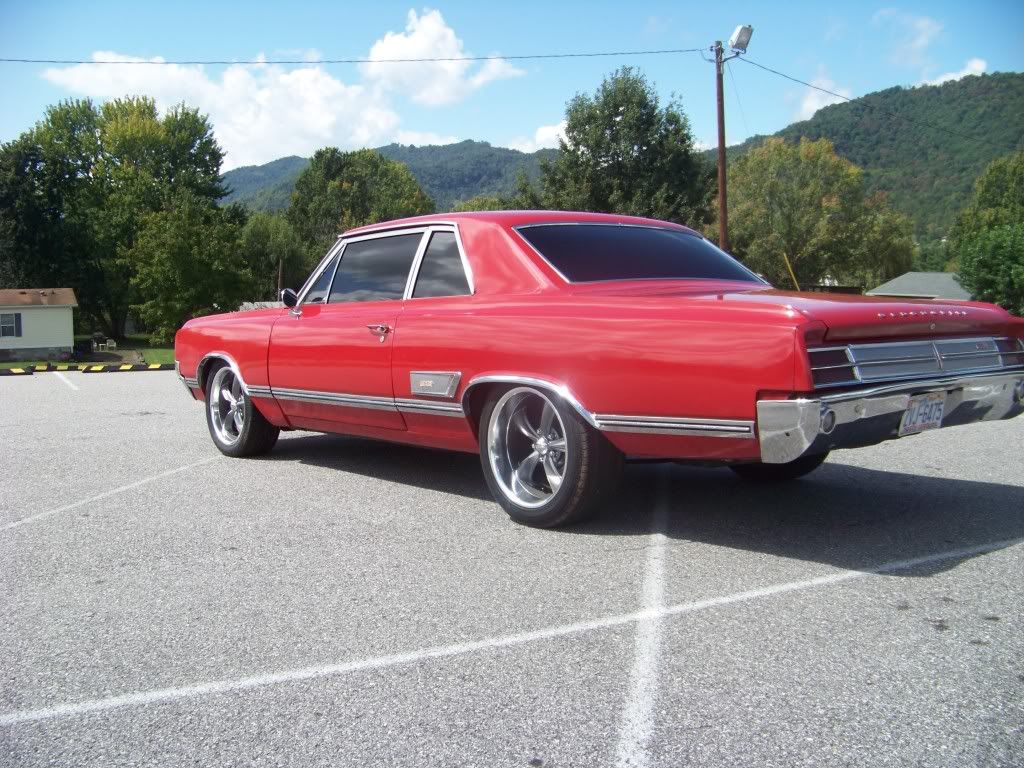
My car is totally a resto-mod. I respect the heck out of a total restoration, but I personally did one on a 1957 vette, "hence the screen name" and it took 6 years to get it perfect. When it was done it was too perfect. It was like owning the Mona Lisa, pretty to look at but had no functional purpose as far as enjoying it as a car to drive. With that being said I am building what I want to enjoy, my idea of what I would want out of new and old. Plush leather interior, big motor, overdrive tranny, good suspension, big wheels, wide tires, air cond, navigation, etc. My goal is to jump in it, fire it up, drive it 200 miles if I so choose to do so, be able to blow the tires off if i want to, be comfortable, and just relax and enjoy. I am not going to spend 2 minutes much less hours studying paint, or correctness or anything about originality of the car, now dont take my comment wrong, I totally respect the original cars and love them but this is my car, built for me by me and I am goingto cherish it and enjoy it!
|
|
|
|
Post by real57vetteguy on Nov 28, 2011 19:21:28 GMT -5
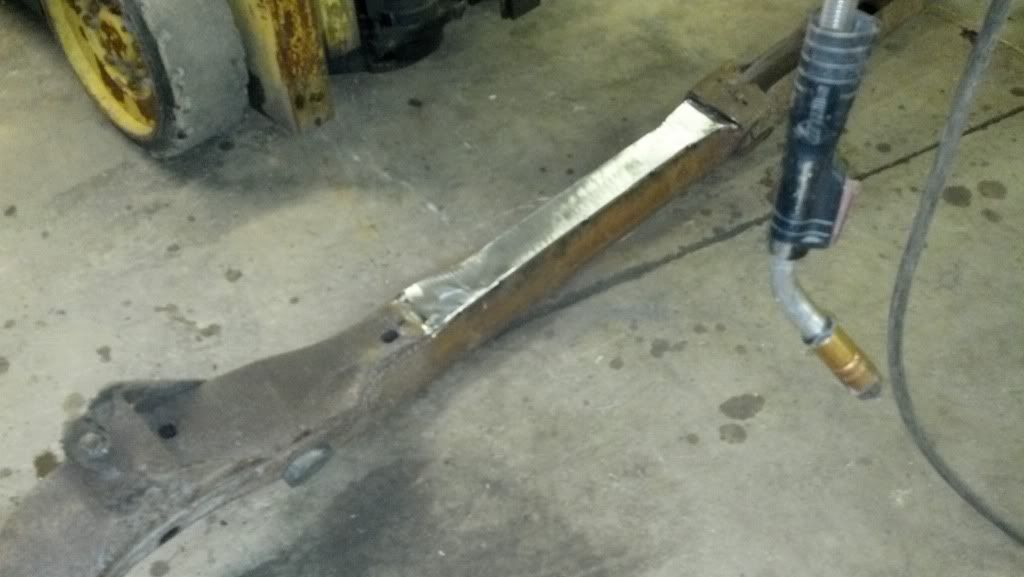
there is a brace at the very back of the car, this is brace is for the to gas tank mounts and the tho rear body mounts does anyone know if you can buy this brace
|
|
|
|
Post by real57vetteguy on Nov 28, 2011 21:58:03 GMT -5
Whew, 10 hours again today and it looks like we made very little progress in which we made a lot! I sent a punch list via Fax to, Fusick, supercars, Tamaraz, matts classic bowties, Brothers, Opgi, and year one and got 1 reply from Fusick which had about 4 items of the 20 i need, urrrrghhhh 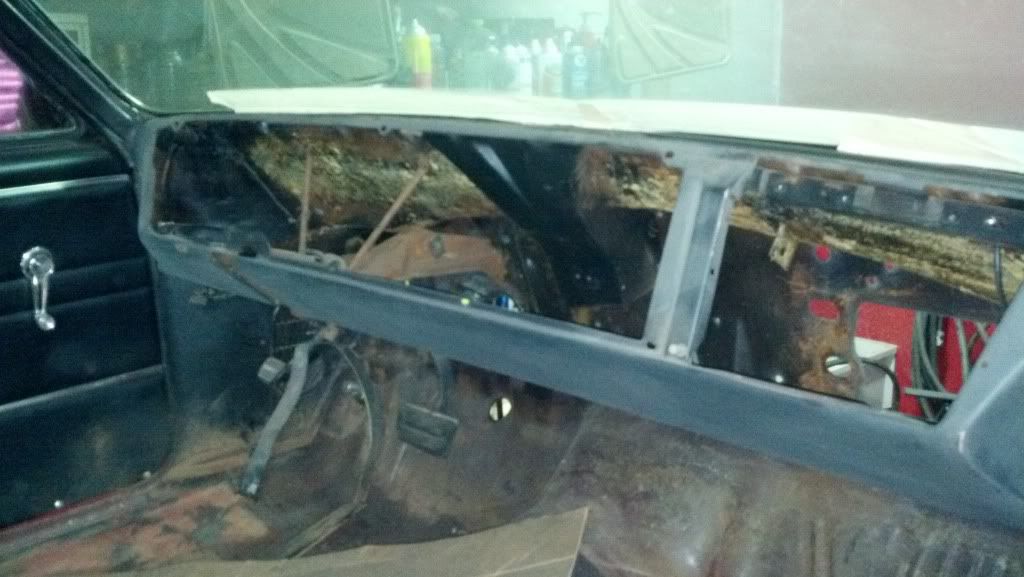 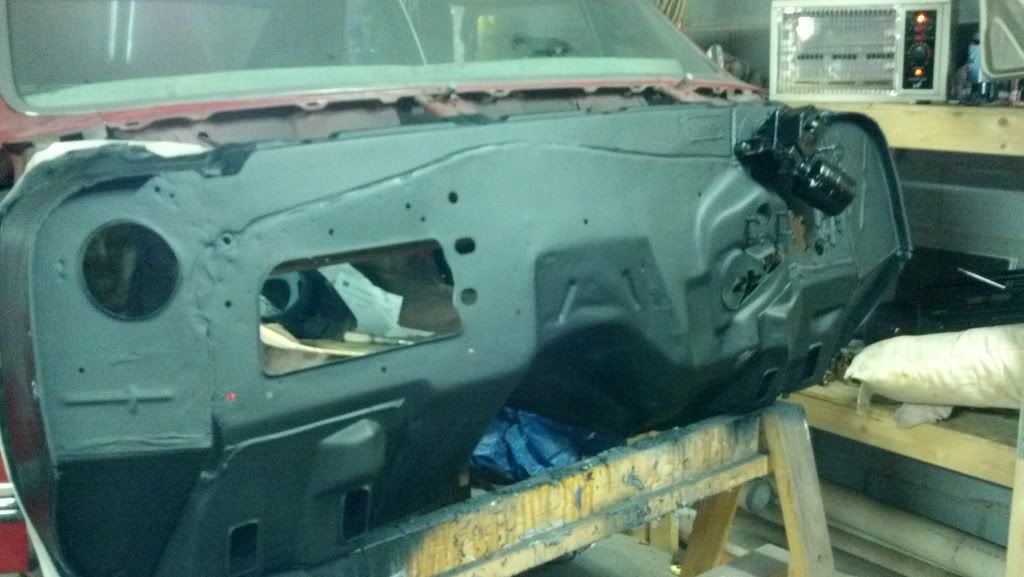 |
|
|
|
Post by shane on Nov 28, 2011 22:06:17 GMT -5
there is a brace at the very back of the car, this is brace is for the to gas tank mounts and the tho rear body mounts does anyone know if you can buy this brace I would think you could buy this brace Pontiac and buick use the same one as our oldsmobiles. Your progress is moving fast wish I had the time to work on mine like you are. |
|
|
|
Post by real57vetteguy on Nov 28, 2011 22:09:47 GMT -5
Here is my parts list that I am looking to buy, any suggestions?
Interior light completely missing ? what do I need? Post car
Battery tray
Fan blower motor
Transmission line kit, (we will bend lines due to frame modifications),Brake line kit (we will bend lines),Fuel line kit (we will bend lines)
442 emblems for side scoops
Door sill plates
Satin or brushed aluminum steering column, (direct fit with wiring)
Suspension bushings
Box nut kit for replacing body mounts,
Seal for heater box
Aftermarket air conditioning
Tie rods
Ball joints
Rear body brace at back of car that holds rear body mounts and gas tank straps
4 wheel disc brake kit (car now has power brakes, but include everything needed for turn key install, keep in mind this car will not be a touring or drag car, just a weekend driver)
Front adjustable upper A arms
B & M street bandit shifter for 200R4 transmission
Emergency brake cables to fit 200R4 swap
Sun visors and mounts, single mount type
Radiator, aluminum for auto trans and electric fan, DIRECT FIT
|
|
|
|
Post by real57vetteguy on Nov 28, 2011 23:03:49 GMT -5
there is a brace at the very back of the car, this is brace is for the to gas tank mounts and the tho rear body mounts does anyone know if you can buy this brace I would think you could buy this brace Pontiac and buick use the same one as our oldsmobiles. Your progress is moving fast wish I had the time to work on mine like you are. Thanks, I have a slow season at work, now is the time I have to jump, once spring hits I wont have time to think about that car! My biggest help is an old Olds buddy who is laid off right now, and my fabrication friend who has a full machine shop and loves to help his friends with projects from 6pm after, so it works well in my slow time. |
|
|
|
Post by mongoose on Nov 28, 2011 23:15:39 GMT -5
I can offer some suggestions based on where I collected parts for my build... Battery Tray: Fusicks Door Sills: Fusicks Aluminum Steering Column: CJ's Rods - www.cjsrods.com/Suspension Bushings: Summit Aftermarket A/C: Vintage Air Tie Rods/Ball Joints: Summit Adjustable A-arms: Detroit Speed, Ride Tech, Summit B&M Shifter: Summit E brake cable: Inline Tube Sun Visors: Fusicks? Exact Fit Aluminum Radiator: Griffin, tell them you want it built with a shroud for electric fans |
|
|
|
Post by RAM Z on Nov 28, 2011 23:41:36 GMT -5
Emblems, Fusick.
Interior light? Underdash lights? Dome Light?
Steering Column, Ididit.
Heater box seals, NPD (Local to me so I can pick them up) I bought the door sills there too. Think they came from Trim Parts INC.
Sun visors, pretty much anyplace. They are two pin visors, one for the swivel end and the other for the rear view mirror bracket. F85 cars have one pin, and you cant buy them new.
Car is an A body, so 4 wheel disc kit should not be a problem to find.
|
|
|
|
Post by realfast65 on Nov 29, 2011 17:42:57 GMT -5
I used the CPP 4 wheel disc kit on mine very pleased with it. The kit was 99% complete only item I had to buy seperate was the one flex hose from the pumkin to the frame every thing else was included. www.classicperform.com/For the A/C I used my factory system except for the compressor which is a modern VDC unit. If I had it to do over again I would have replaced the entire HVAC system with an after market unit including the heater. The factory system is a pain to service and lacks airflow to cool. I used these guys they are local to me and carry OEM replacement parts along with stand alone systems. www.oldairproducts.com |
|
|
|
Post by real57vetteguy on Nov 29, 2011 21:22:56 GMT -5
|
|
|
|
Post by mongoose on Nov 30, 2011 7:15:32 GMT -5
You have definitely been busy! This is like watching a low budget version of Overhaulin'!  |
|
|
|
Post by stan65cutlass on Nov 30, 2011 12:57:16 GMT -5
looks great, bet you cant wait for it to "pull your shirt off"
|
|
Deleted
Deleted Member
Posts: 0
|
Post by Deleted on Nov 30, 2011 16:36:12 GMT -5
Mark I would like to see how they got the manual fuel pump to work with the Edelbrock heads without milling down that side of the head. I heard it can be done and obviously it worked for this motor. But some say it's very risky? Love that A/C bracket he made...( Need One)
|
|
|
|
Post by BR[] on Nov 30, 2011 18:14:07 GMT -5
Could you take a few pics of how you hooked up the engine hoist on the inside? I'll make a page to show other how to do it. Thanks, BR[]
|
|
|
|
Post by stan65cutlass on Nov 30, 2011 20:03:04 GMT -5
thats nice, 8-)you need a set of clear top valvecovers. wonder if bro has an old set from his earlier days ;D
|
|
|
|
Post by real57vetteguy on Nov 30, 2011 22:01:58 GMT -5
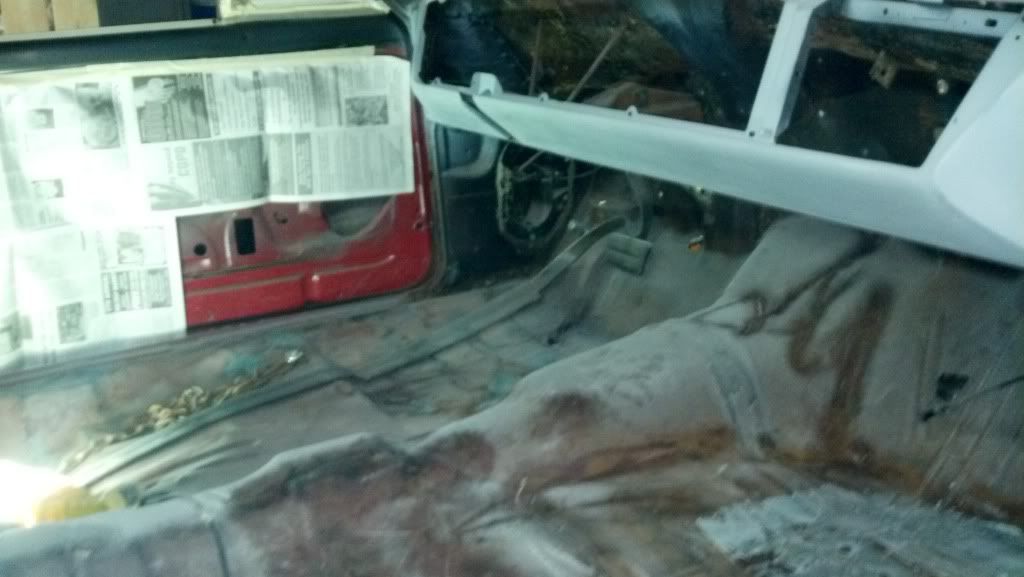
Could you take a few pics of how you hooked up the engine hoist on the inside? I'll make a page to show other how to do it. Thanks, BR[]Bro, I dont have any pics of what I did but I can explain it very well, when we put the body back on I will take pics. 1) dont try it with yor cheap chinese cherry picker, I am using a big diesel type hoist, that has extendible arms etc. 2) in your trunk pan you have oval holes for drainage that should have bolt in/glue in plugs, remove the plugs 3) you can fab something, use a wooden 2x4 or create something to run bolts through a chain from the top ofthe trunk pan through your brace piece, make sure your brace piece is wide enough to span the width of the car, make sure you have thick washers on the bottom of your brace piece and on top of chain 4) run the chain in an X pattern in between the largest opening where the rear seat is to the outter (near the door/sill plate front threaded seat mount) 5) use long case hardened bolts to thread all the way through the seat bolt threads and use a large piece of plate metal, (at least 6x6 inch or larger with one hole drilled for the bolt in the center, again use large washers on the bottom of the plate and top of chain 6)make both sections of chain so that you have about 6-10 inches from the floor with all the slack pulled out, use a C type hook found at lowes, looks like a letter O with a threaded side found in the chain section about 3 dollers, find a good center section between your chains and hook this to both chains to avoid chain sliding. 7) hook your cherry picker to this with doors shut, windows down, run cherry picker through window, if you start jacking and cherry picker starts to get close to head liner, lower and take slack out, if arm starts to touch door, lower and add slack, once raised roll frame out from under, set up desired height and prop for body to sit on stands! |
|
|
|
Post by RAM Z on Nov 30, 2011 22:39:57 GMT -5
Or get another cherry picker. Place one at the rear, hook a chain around the trunk latch brace in the trunk. Place the other picker at the front, hook chain between fender bolt holes in the top of the cowl. Body up and off in 10 minutes.
|
|
|
|
Post by real57vetteguy on Nov 30, 2011 23:13:42 GMT -5
I bought a cam from CurlassEFI , Let me say that is one JAM UP person. He did the sale, followed up, called me again when it shipped, called again when it was to arrive, asked me to call when we put it in , gave me install details, etc etc
|
|
|
|
Post by real57vetteguy on Nov 30, 2011 23:18:12 GMT -5
Or get another cherry picker. Place one at the rear, hook a chain around the trunk latch brace in the trunk. Place the other picker at the front, hook chain between fender bolt holes in the top of the cowl. Body up and off in 10 minutes. that would work awesome, if you have two cherry pickers and multiple people to help |
|
|
|
Post by RAM Z on Dec 1, 2011 0:02:25 GMT -5
Jack it up, walk to the other one and do the same. Pull on one, walk to the other one and do the same. Body off.
|
|


![BR[] Avatar](http://aliquippaoutlaws.homestead.com/Bro442_ANIM_150.gif)
